5 min read
Overview
Go helps you make faster scalable backends and this guide will show you how to connect your backend to Ethereum (and make it even faster, more reliable, and globally accessible, all thanks to QuickNode’s global infrastructure).
What is GoLang?
Go is an open-source programming language launched by Google engineers in 2009. It was partially derived from C, adopting C’s syntax and features but with memory safety, garbage collection, structural typing, and concurrency. Go features super efficient concurrency mechanisms that take full advantage of modern multi-core hardware along with distributed networked infrastructures.
Go’s key features:
- Statically typed and fast compiled, produces binary executables - which are FAST
- Cross-platform with mobile support runs on most platforms and has native libraries
- Strong support for concurrency with built-in primitives. Uses Goroutines which consume very little memory, featuring fast startup time, and can run multiple threads
- Simple and minimalist (full reference is only 50 pages)
- Strong standard library with lots of add-ons
- Pointers and parameters by reference - don’t you miss those?
Connecting to ethereum with Geth aka go-ethereum
go-ethereum is the official implementation of Ethereum in Go, (also known as Geth), the ethclient package can be used for Ethereum RPC API.
Prerequisites
- Go version 1.13 or above installed
- A text editor
- CLI
How to install Go and basic error handling
As mentioned, if we want to use the go-ethereum client, we will need to check if Go is installed on your system:
$ go version
If Go is not installed, follow the official installation guide for your specific OS.
Make sure you have the gcc compiler installed as well.
For Ubuntu - use apt-get install build-essentials
For Windows - use https://jmeubank.github.io/tdm-gcc/download/
For Mac - using homebrew
$ brew install gcc
another faster option is getting XCode Command Line Tools using
$ xcode-select --install
If you’re not familiar with Go, we recommend running their interactive tutorial that will cover the basic syntax, methods, and concurrency handling. There are some exercises you can run all without having to leave your environment. Simply type the command below into your command line / terminal to run the tutorial locally:
$ go get golang.org/x/tour
Now type:
$ tour
Set Up Your QuickNode Endpoint
Any Ethereum node may be used for the purpose of this guide - Geth or OpenEthereum (fka Parity). For the sake of simplicity, we'll create a free account on QuickNode here and create an Ethereum endpoint. After you've created your free Ethereum endpoint, copy your HTTP Provider endpoint, as you will need it later. QuickNode makes booting, running, and maintaining your own node a painless experience. Developers no longer need to wait days for full sync, sacrifice terabytes of storage space, and worry about security and maintenance.
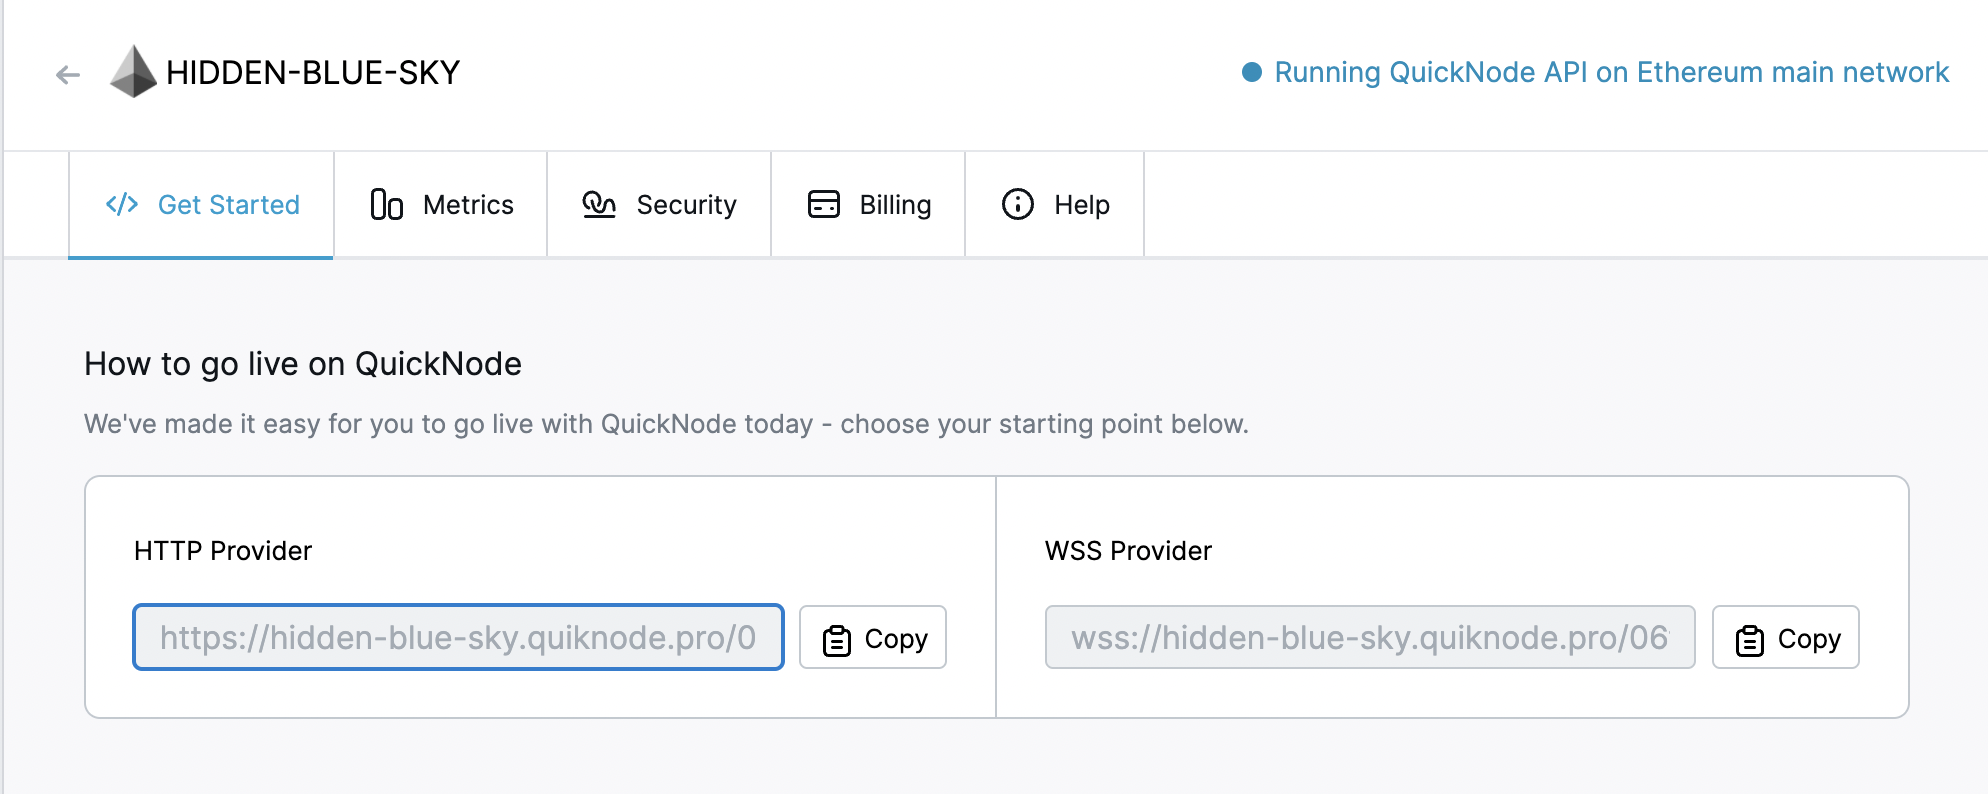
You'll need this later, so copy it and save it.
Connecting via Go
The following will show you how to initialize your Go project, connect to the Ethereum network and get the latest block number, quickly, easily, and headache-free, provided you have installed the latest version of Go on your environment.
1. Create a file called quiknode.go
package main

import (
    "fmt"
    "log"
    "github.com/ethereum/go-ethereum/ethclient"
)

func main() {

    _, err := ethclient.Dial("ADD_YOUR_ETHEREUM_NODE_URL")

    if err != nil {
        log.Fatalf("Oops! There was a problem", err)
    } else {
        fmt.Println("Success! you are connected to the Ethereum Network")
    }
}
Replace `ADD_YOUR_ETHEREUM_NODE_URL` with the provider endpoint you saved earlier.
2. Create a module to track dependencies. If you’re not familiar with go, this is an essential step in setting up your project’s dependencies. With Go it’s quite easy
Simply type:
$ go mod init quiknode
This will ensure the ethclient that was included in your code is downloaded from GitHub and installed locally. It happens automatically and the latest version should be pulled into your environment along with built-in Go modules.
If you have any issues with the ethclient installation, you can alternatively download it with the following command:
$ go get github.com/ethereum/go-ethereum/ethclient
3. Run your module with
$ go run quiknode.go
If everything goes well, you will see the following message:

That was easy! You are now running your own node that is connected and synced. Next, check if your node is working and pull some information from the blockchain.
4. Modify your code to obtain additional information from the ETH blockchain:
package main

import (
    "context"
    "fmt"
    "log"
    "github.com/ethereum/go-ethereum/ethclient"
)

func main() {
    client, err := ethclient.Dial("ADD_YOUR_ETHEREUM_NODE_URL")

    if err != nil {
        log.Fatalf("Oops! There was a problem", err)
    } else {
        fmt.Println("Sucess! you are connected to the Ethereum Network")
    }

    header, err := client.HeaderByNumber(context.Background(), nil)
    if err != nil {
        log.Fatal(err)
    } else {
        fmt.Println(header.Number.String())
    }
}
A quick explanation of the code above:
Lines 1-9: Declaring the main package and adding dependencies necessary to connect to the blockchain.
Line 11: Invoking the main function.
Line 12: Setting up our client and connecting it to an Ethereum node hosted by QuickNode.
Line 14: Checking for connection errors.
Line 18: Displaying a message on the successful connection.
Line 20: Sending a request to our node to obtain the latest block number.
Lines 21-26: Checking for request error and outputting a success message if no errors, converting the hash number to a string and displaying it.
Don’t forget to replace `ADD_YOUR_ETHEREUM_NODE_URL` with the http endpoint address for your own node.
Upon successful execution, you will see a similar message:

That’s it! You can now use your own QuickNode and build the next awesome dApp using Go.
Conclusion
This guide showed you how to connect to the Ethereum network using Go and a free QuikNode Ethereum Node. We encourage you to learn more about the various RPC methods of ethclient in their docs and explore the go-ethereum's GitHub for other modules.
Also, learn how to spin up your own go-ethereum/geth node in our tutorial on 'How to install and run a Geth node.'
Subscribe to our newsletter for more articles and QuikNode guides on Ethereum. Share your feedback on Twitter, and ask us anything on Discord.