5 min read
Overview
Java is one of the most versatile languages out there and continues to be relevant today. Java is so popular because of its massive user base and use cases. This guide will teach us how to connect to the Ethereum blockchain using Java and Web3j.
Some Background on Java
Java’s slogan is 'Write once, run anywhere,' which means a Java program should be able to run on any machine. The Java JVM (Java Virtual Machine) enables Java code to run on multiple platforms.
Features of Java:
- Fully object-oriented.
- Has one of the most mature developer communities.
- Backed by tech giant Oracle.
- Has tons of frameworks to make reliable apps.
- Has a massive set of IDEs.
In this guide, we will be connecting to the Ethereum network using Java with the help of a Java library called Web3j.
What is Web3j?
Web3j is a Java library that interacts with Ethereum Smart contracts and integrates with Ethereum nodes. It is highly modular, type-safe, and reactive, built for Java and Android development on Ethereum. Web3j eliminates the overhead of writing a custom integration code to connect to the Ethereum blockchain network.
Features of Web3j:
- Complete Ethereum JSON-RPC client API over HTTP and IPC implementation and support for Ethereum wallet.
- Auto-generation of Java smart contract wrappers to create, deploy, transact with, and call smart contracts from native Java code (Solidity and Truffle definition formats supported).
- Reactive-functional API for working with filters.
- Ethereum Name Service (ENS) support.
- Support for Hosted Ethereum nodes.
- Support for ERC20 and ERC721 token standards
- Command-line tools.
- Android compatible.
Prerequisites
- Java installed on your system.
- A Java IDE, we'll use Jet Brains IntelliJ IDEA (community version) here.
- An Ethereum node.
Installing the web3j java library
To install Web3j and run our code, we'll need Java installed in our systems. To check if you have Java installed or not, type the following in your Terminal/command prompt:
java -version
It must return the installed version of Java on your system. If not installed, download it from here, based on your OS type.
We can install Web3j using either Maven or Gradle.
For Maven:
Java 8:
<dependency>
  <groupId>org.web3j</groupId>
  <artifactId>core</artifactId>
  <version>4.9.8</version>
</dependency>
Android:
<dependency>
  <groupId>org.web3j</groupId>
  <artifactId>core</artifactId>
  <version>4.8.7-android</version>
</dependency>
For Gradle:
Java 8:
compile ('org.web3j:core:4.6.3')
Android:
compile ('org.web3j:core:4.6.0-android')
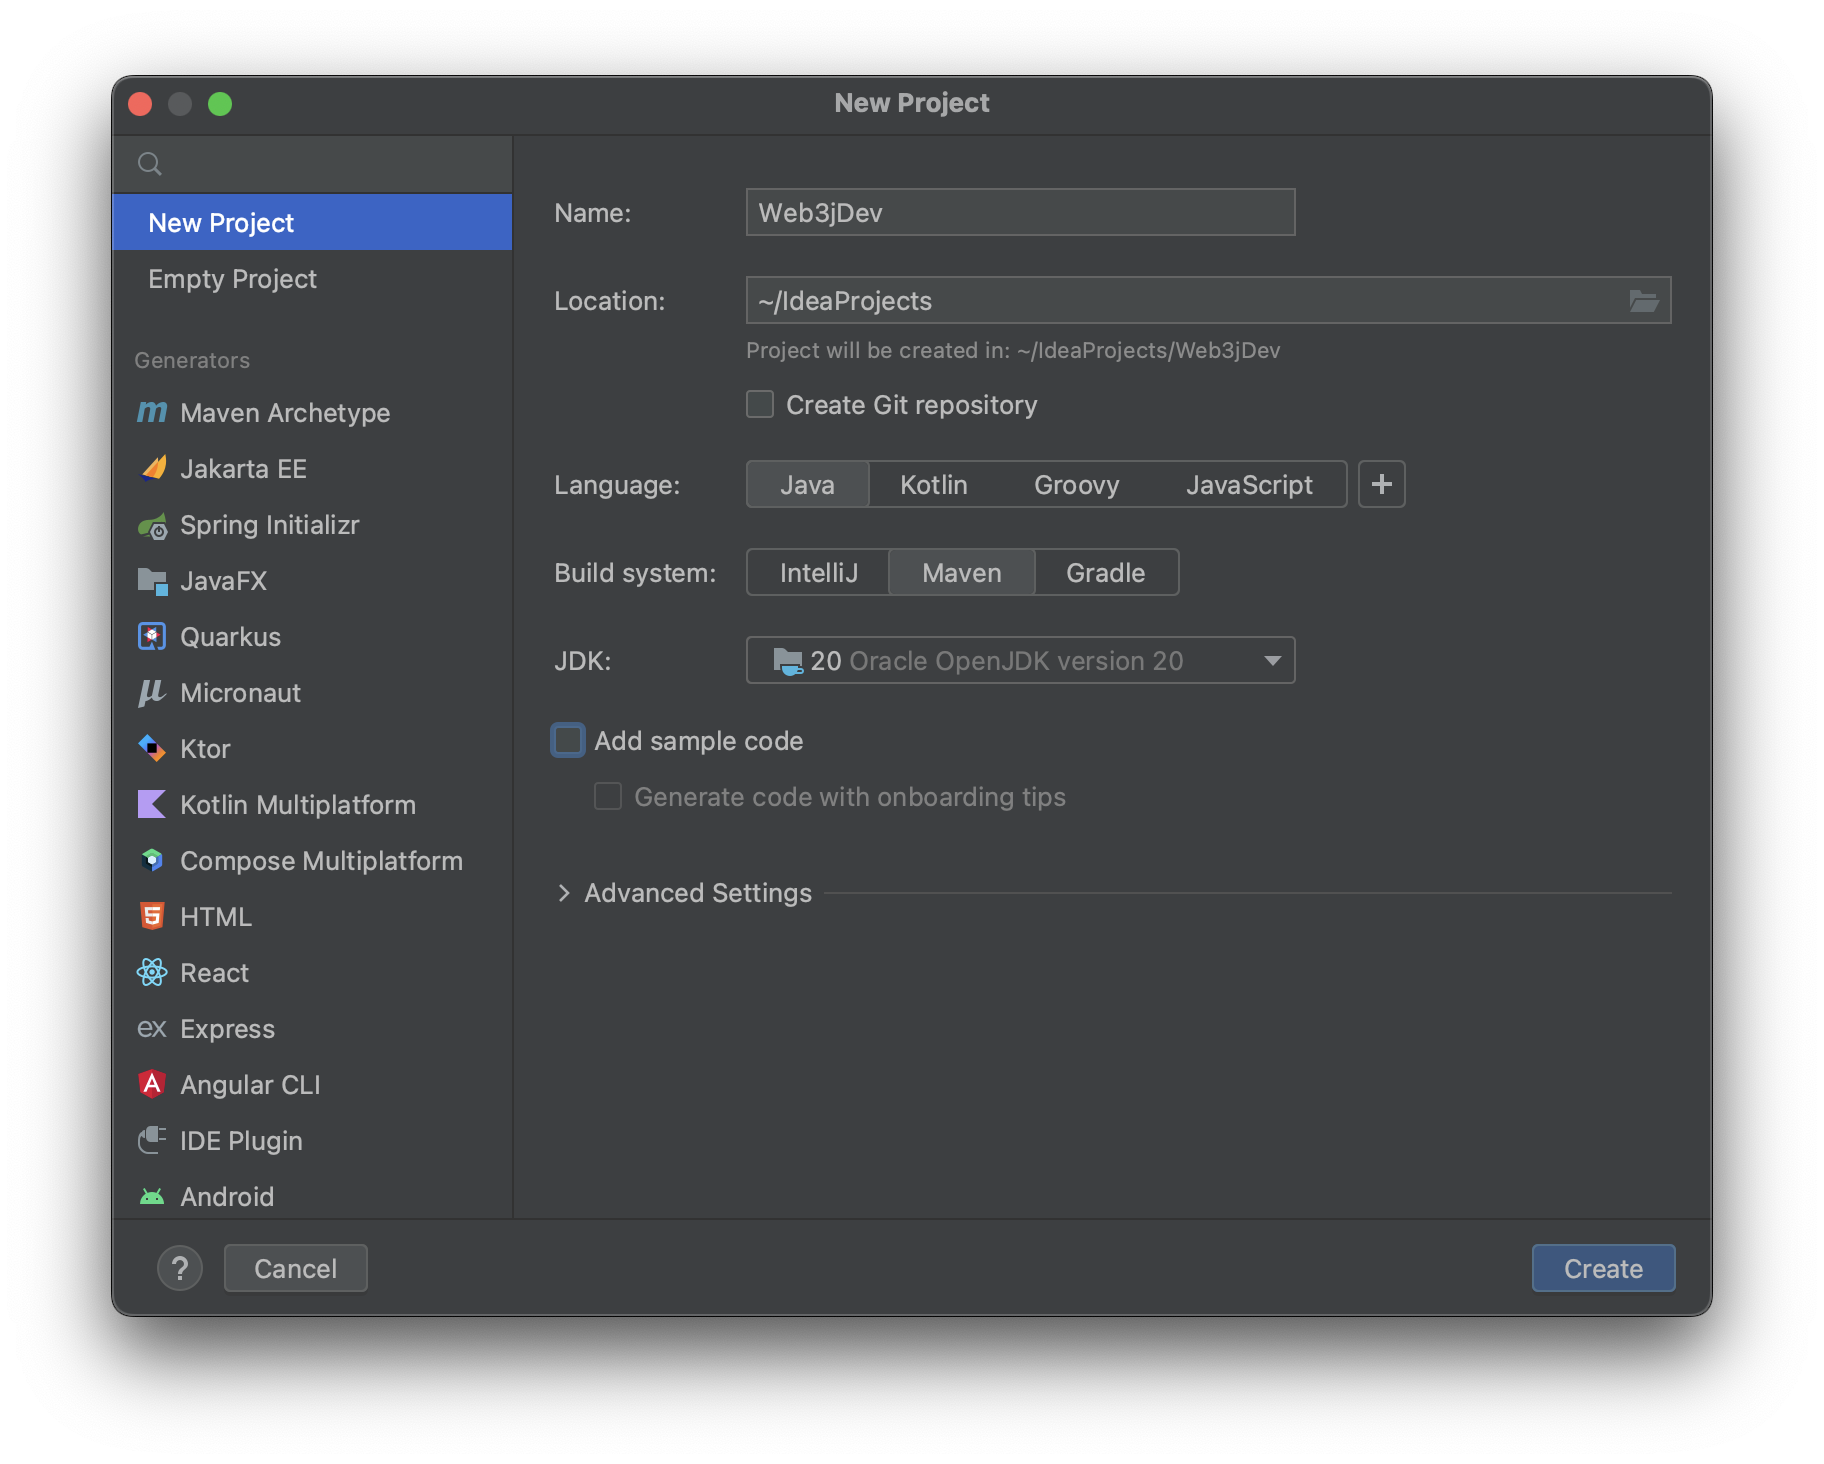
We'll use Maven to manage our Java library dependency and install it. First, Let's set up our IntelliJ IDE. Create a new project, name it Web3jDev and select Maven as the build system. After, uncheck the box for Add sample code and then click the Create button.
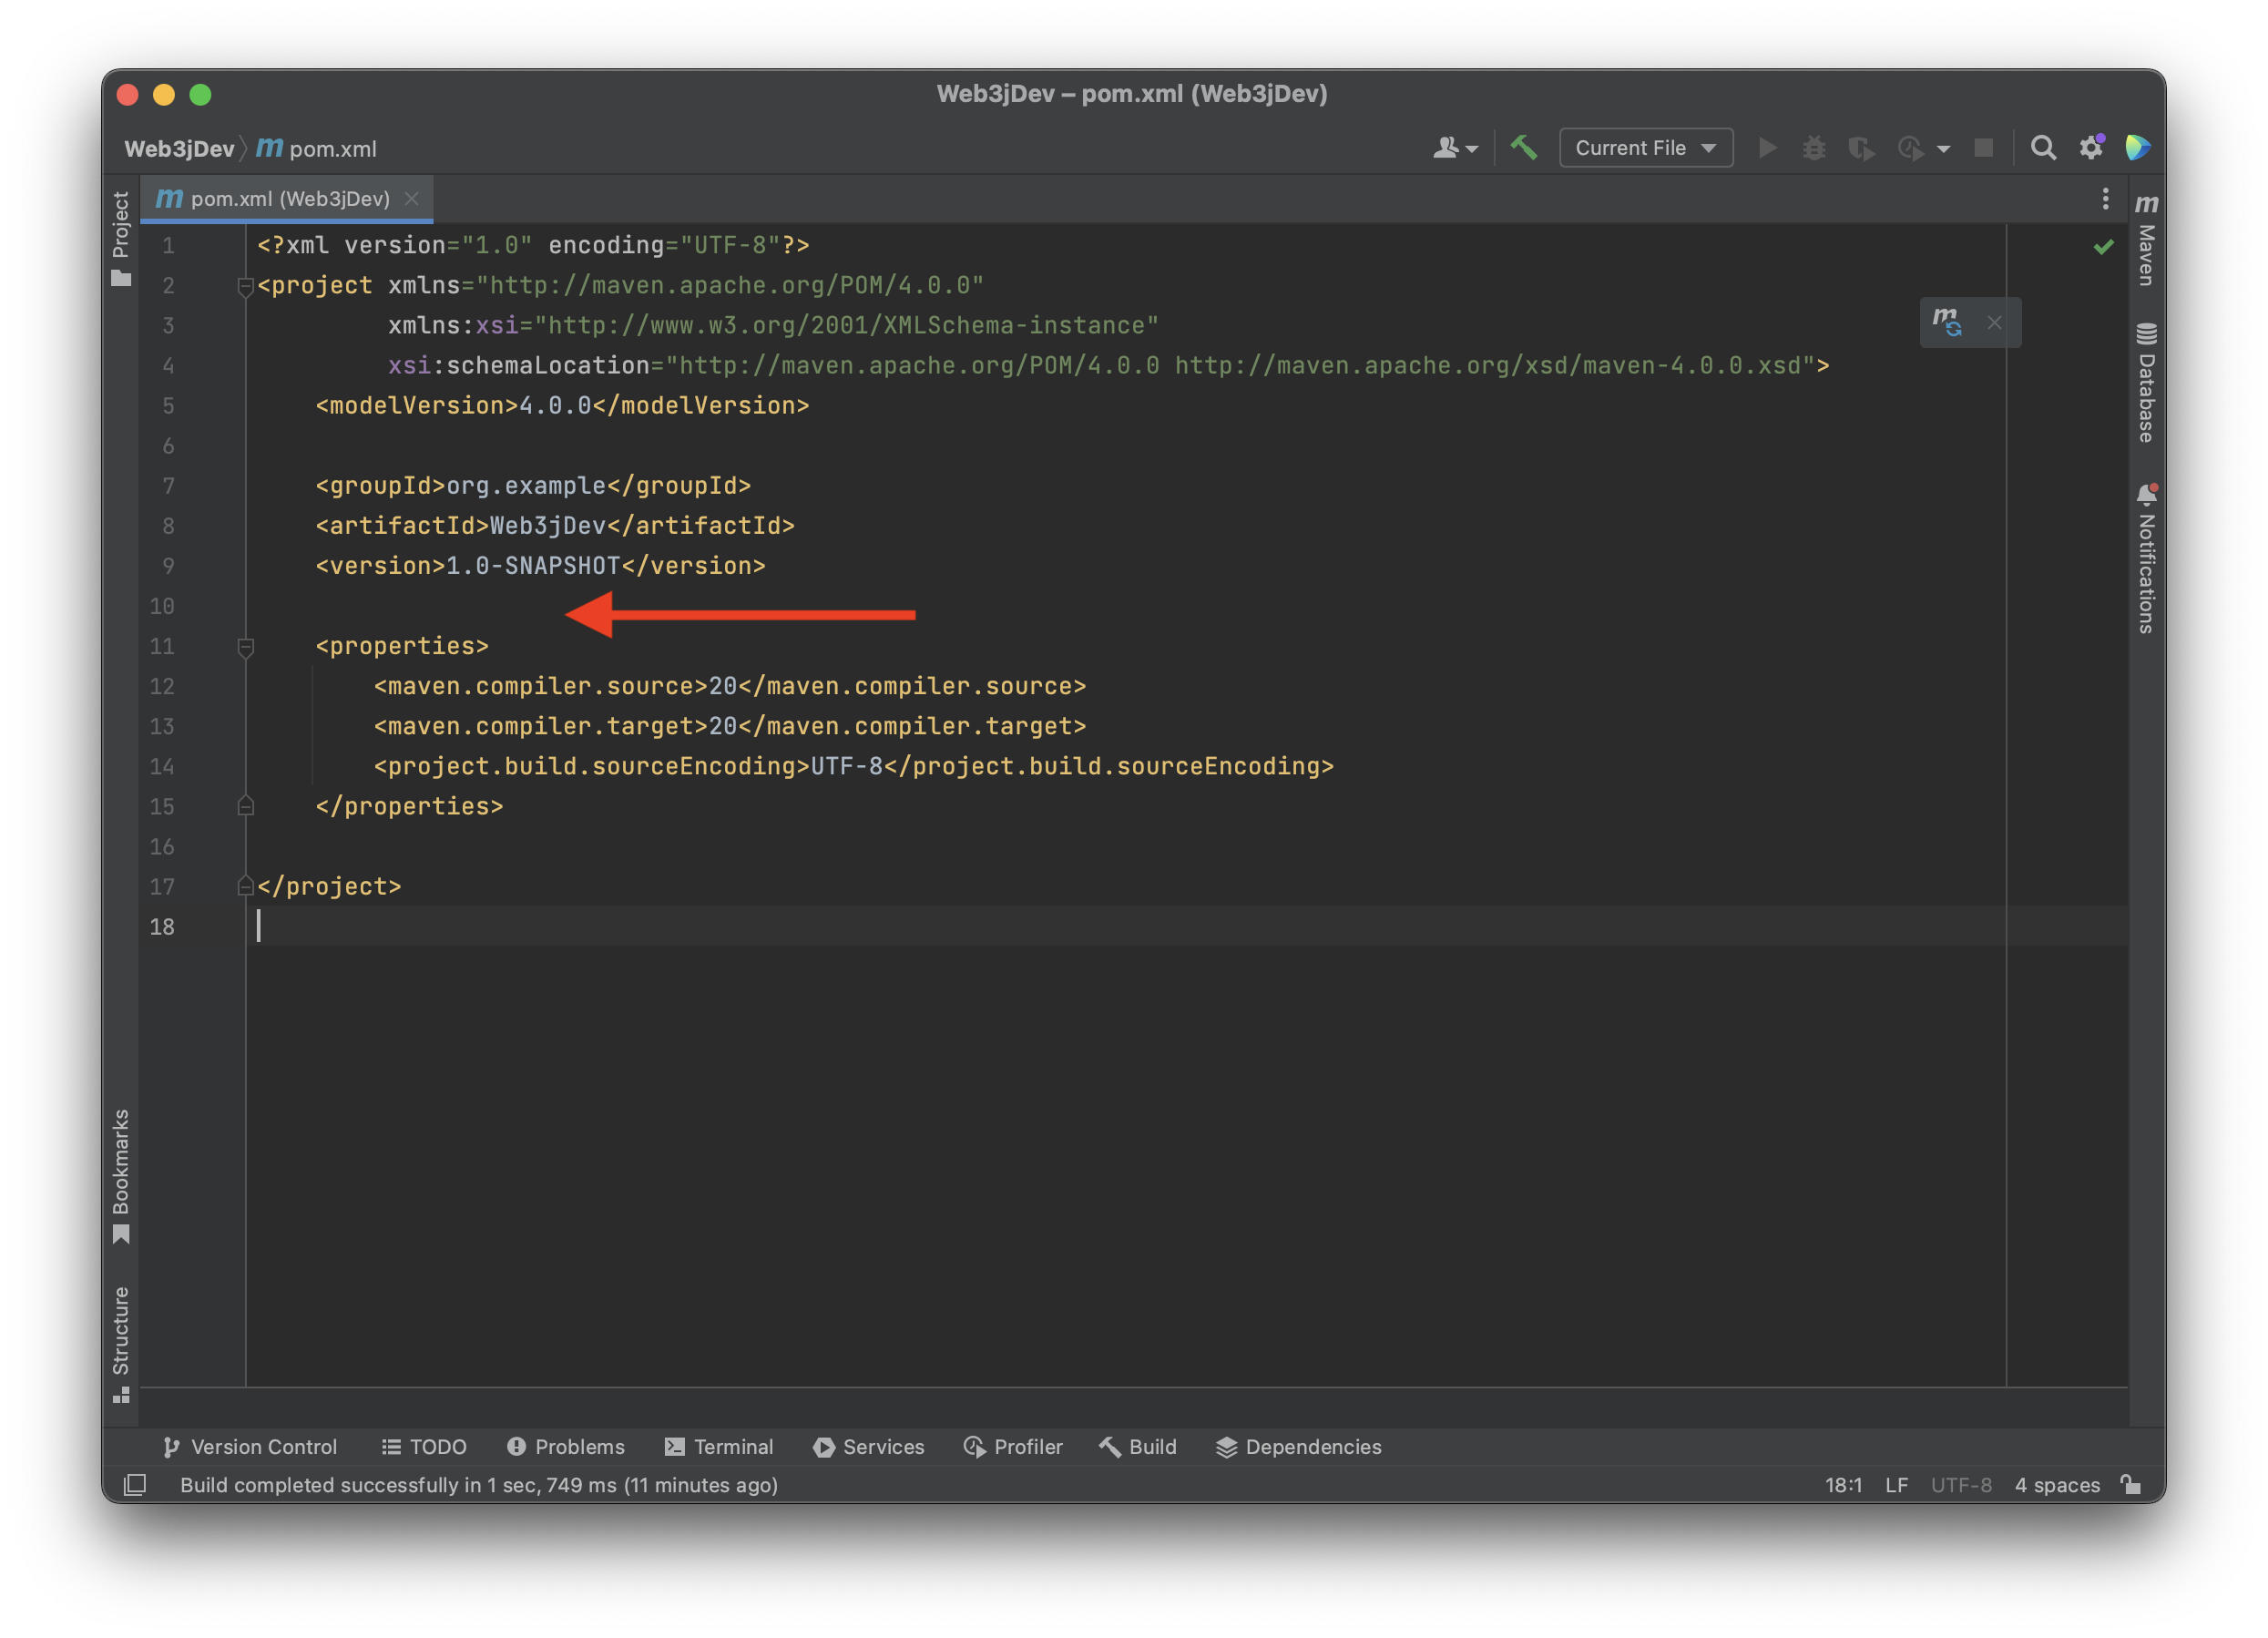
Now you'll see a pom.xml file opened up in a window, Paste the following code in your pom.xml file on line 10:
<dependencies>
    <dependency>
        <groupId>org.web3j</groupId>
        <artifactId>core</artifactId>
        <version>4.9.8</version>
    </dependency>
    <dependency>
        <groupId>org.slf4j</groupId>
        <artifactId>slf4j-nop</artifactId>
        <version>1.7.5</version>
        <scope>compile</scope>
    </dependency>
</dependencies>
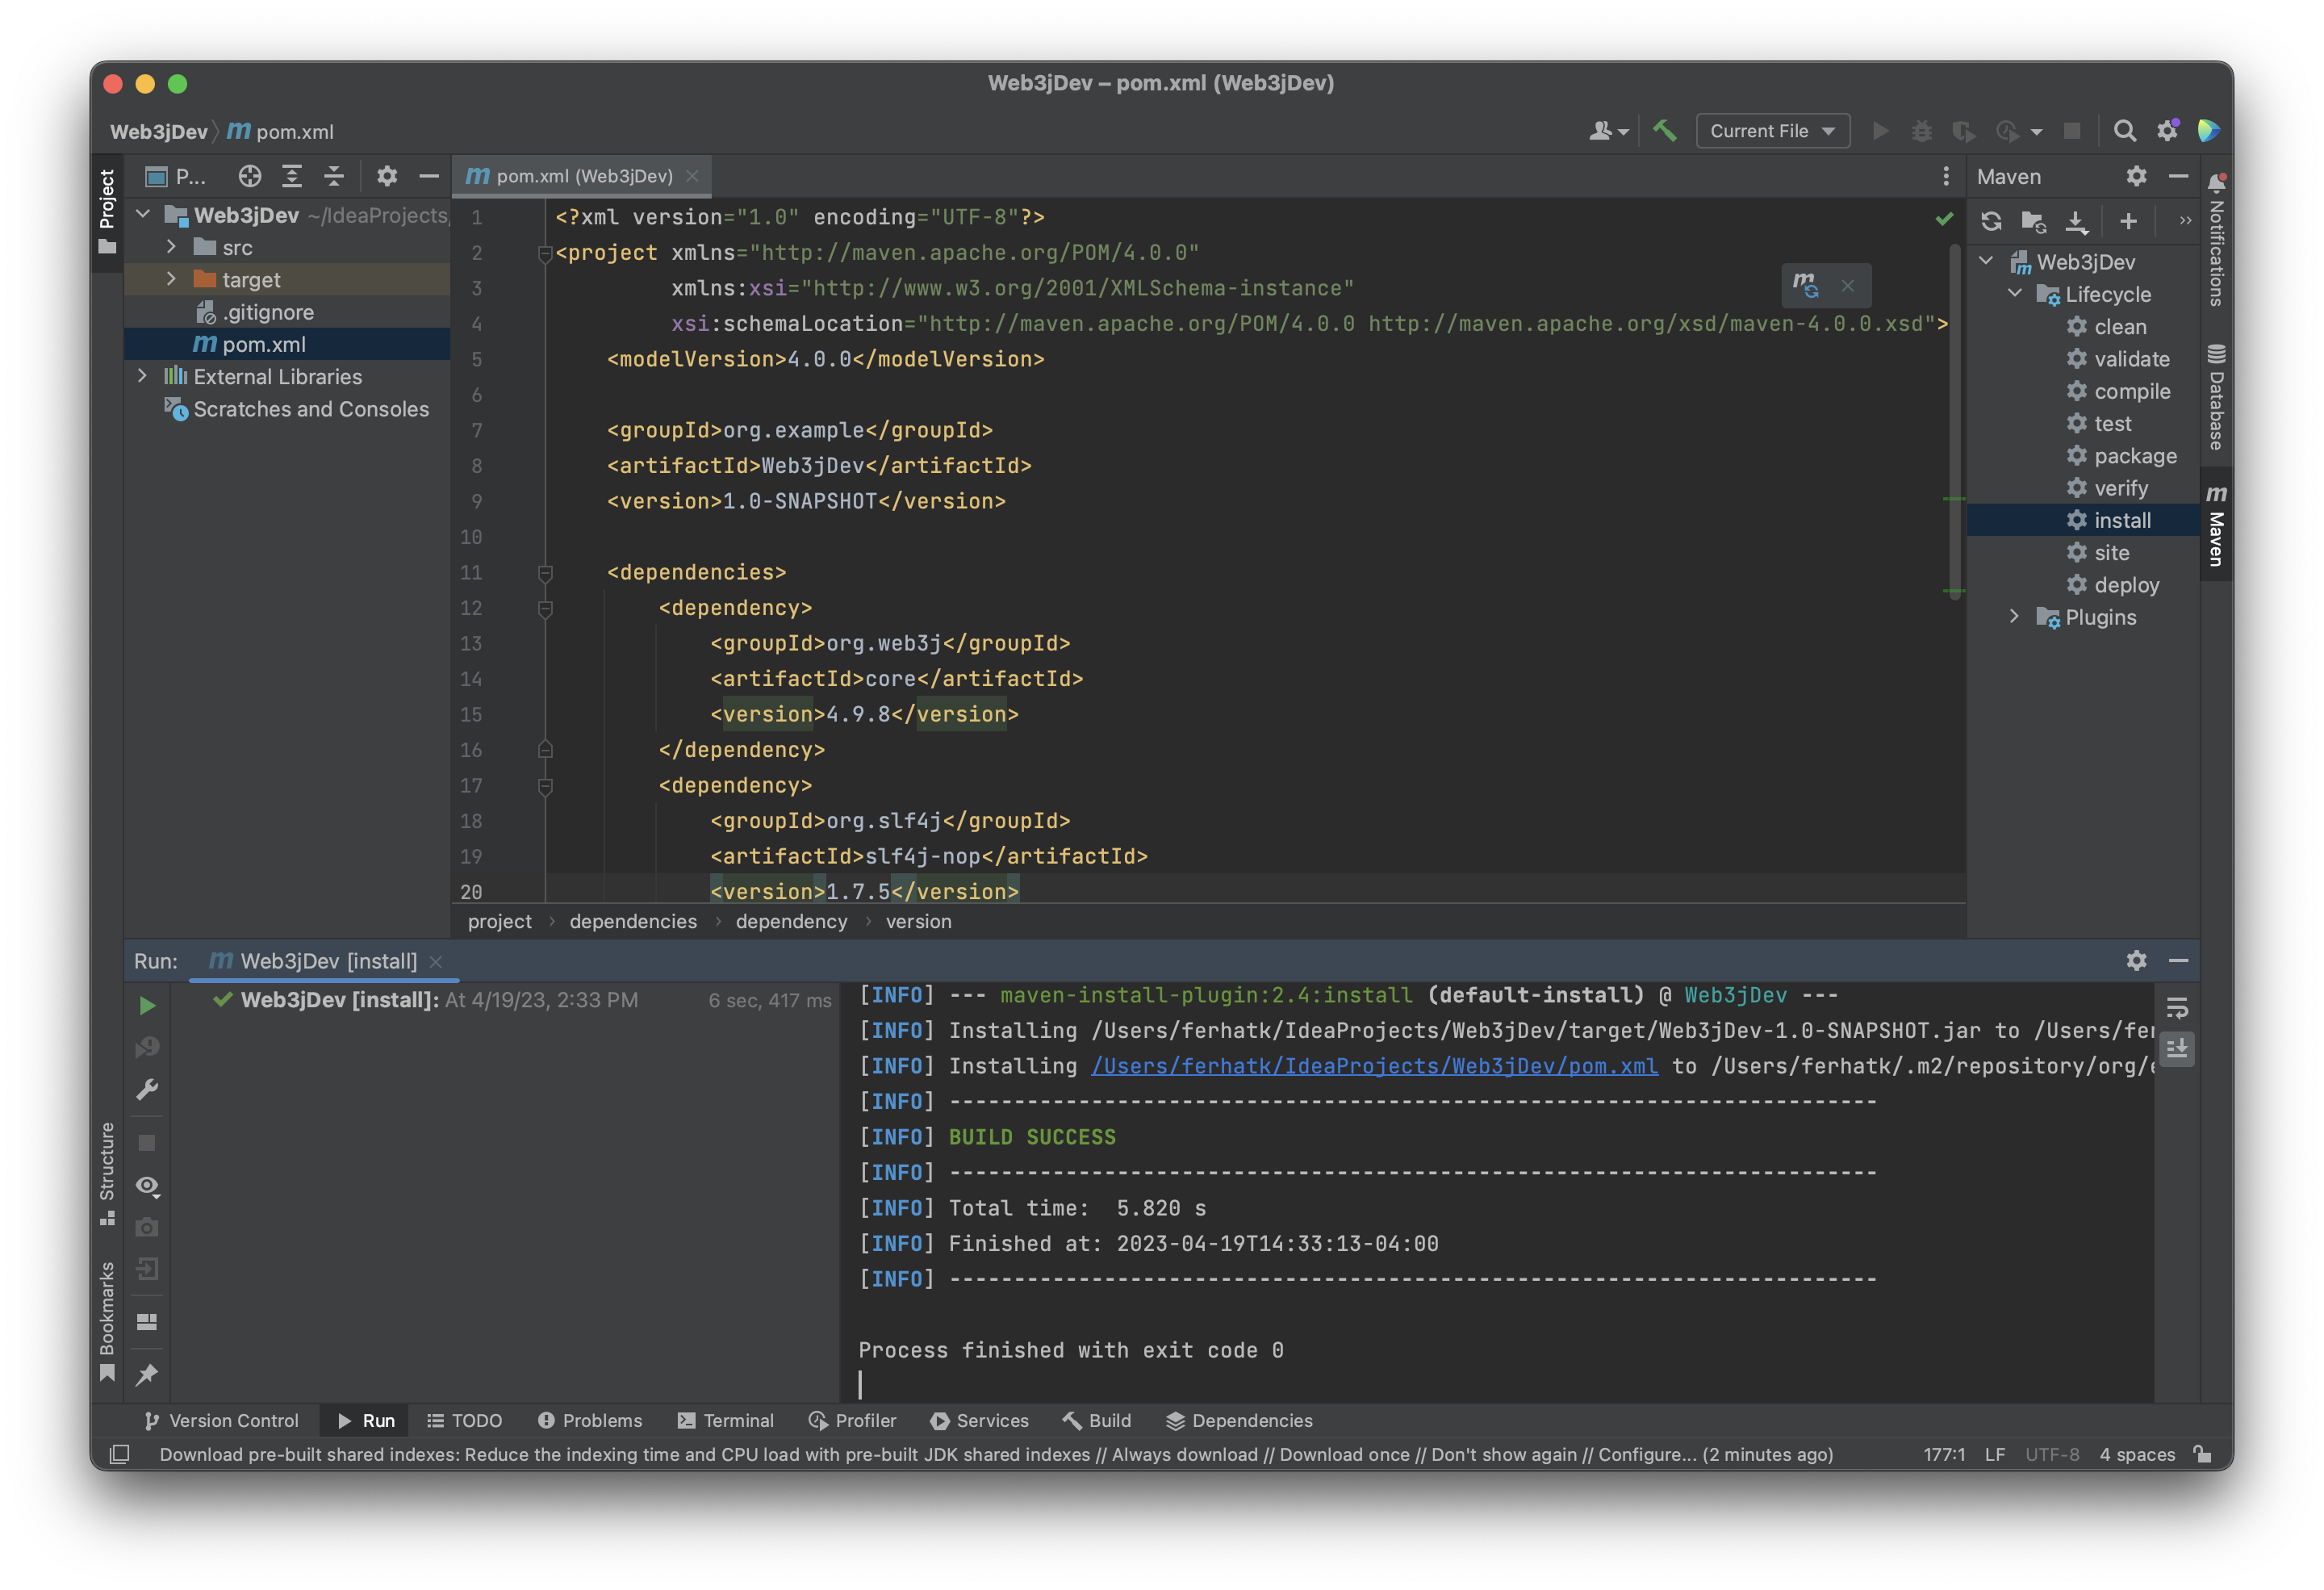
Here we're adding the web3j dependency in the pom.xml file to interact with the Ethereum blockchain and slf4j dependency to manage the logging error; learn more about it here.
Your pom.xml file must look something like this (Web3Dev is the project name):

Then from the right panel, click on Maven and expand your project directory, select Lifecycle, and then double-click on install; this will install Web3j. You’ll see a 'BUILD SUCCESS' message in the IDE terminal as shown below.
Set Up Your QuickNode Ethereum Endpoint
To build on Ethereum, you'll need an API endpoint to connect with the network. You're welcome to use public nodes or deploy and manage your own infrastructure; however, if you'd like 8x faster response times, you can leave the heavy lifting to us. Sign up for a free account here.
Once you are logged in, click Create an endpoint and then select the Ethereum mainnet blockchain. Note that the code in this guide is also applicable to other EVM-based chains (e.g., Polygon PoS).
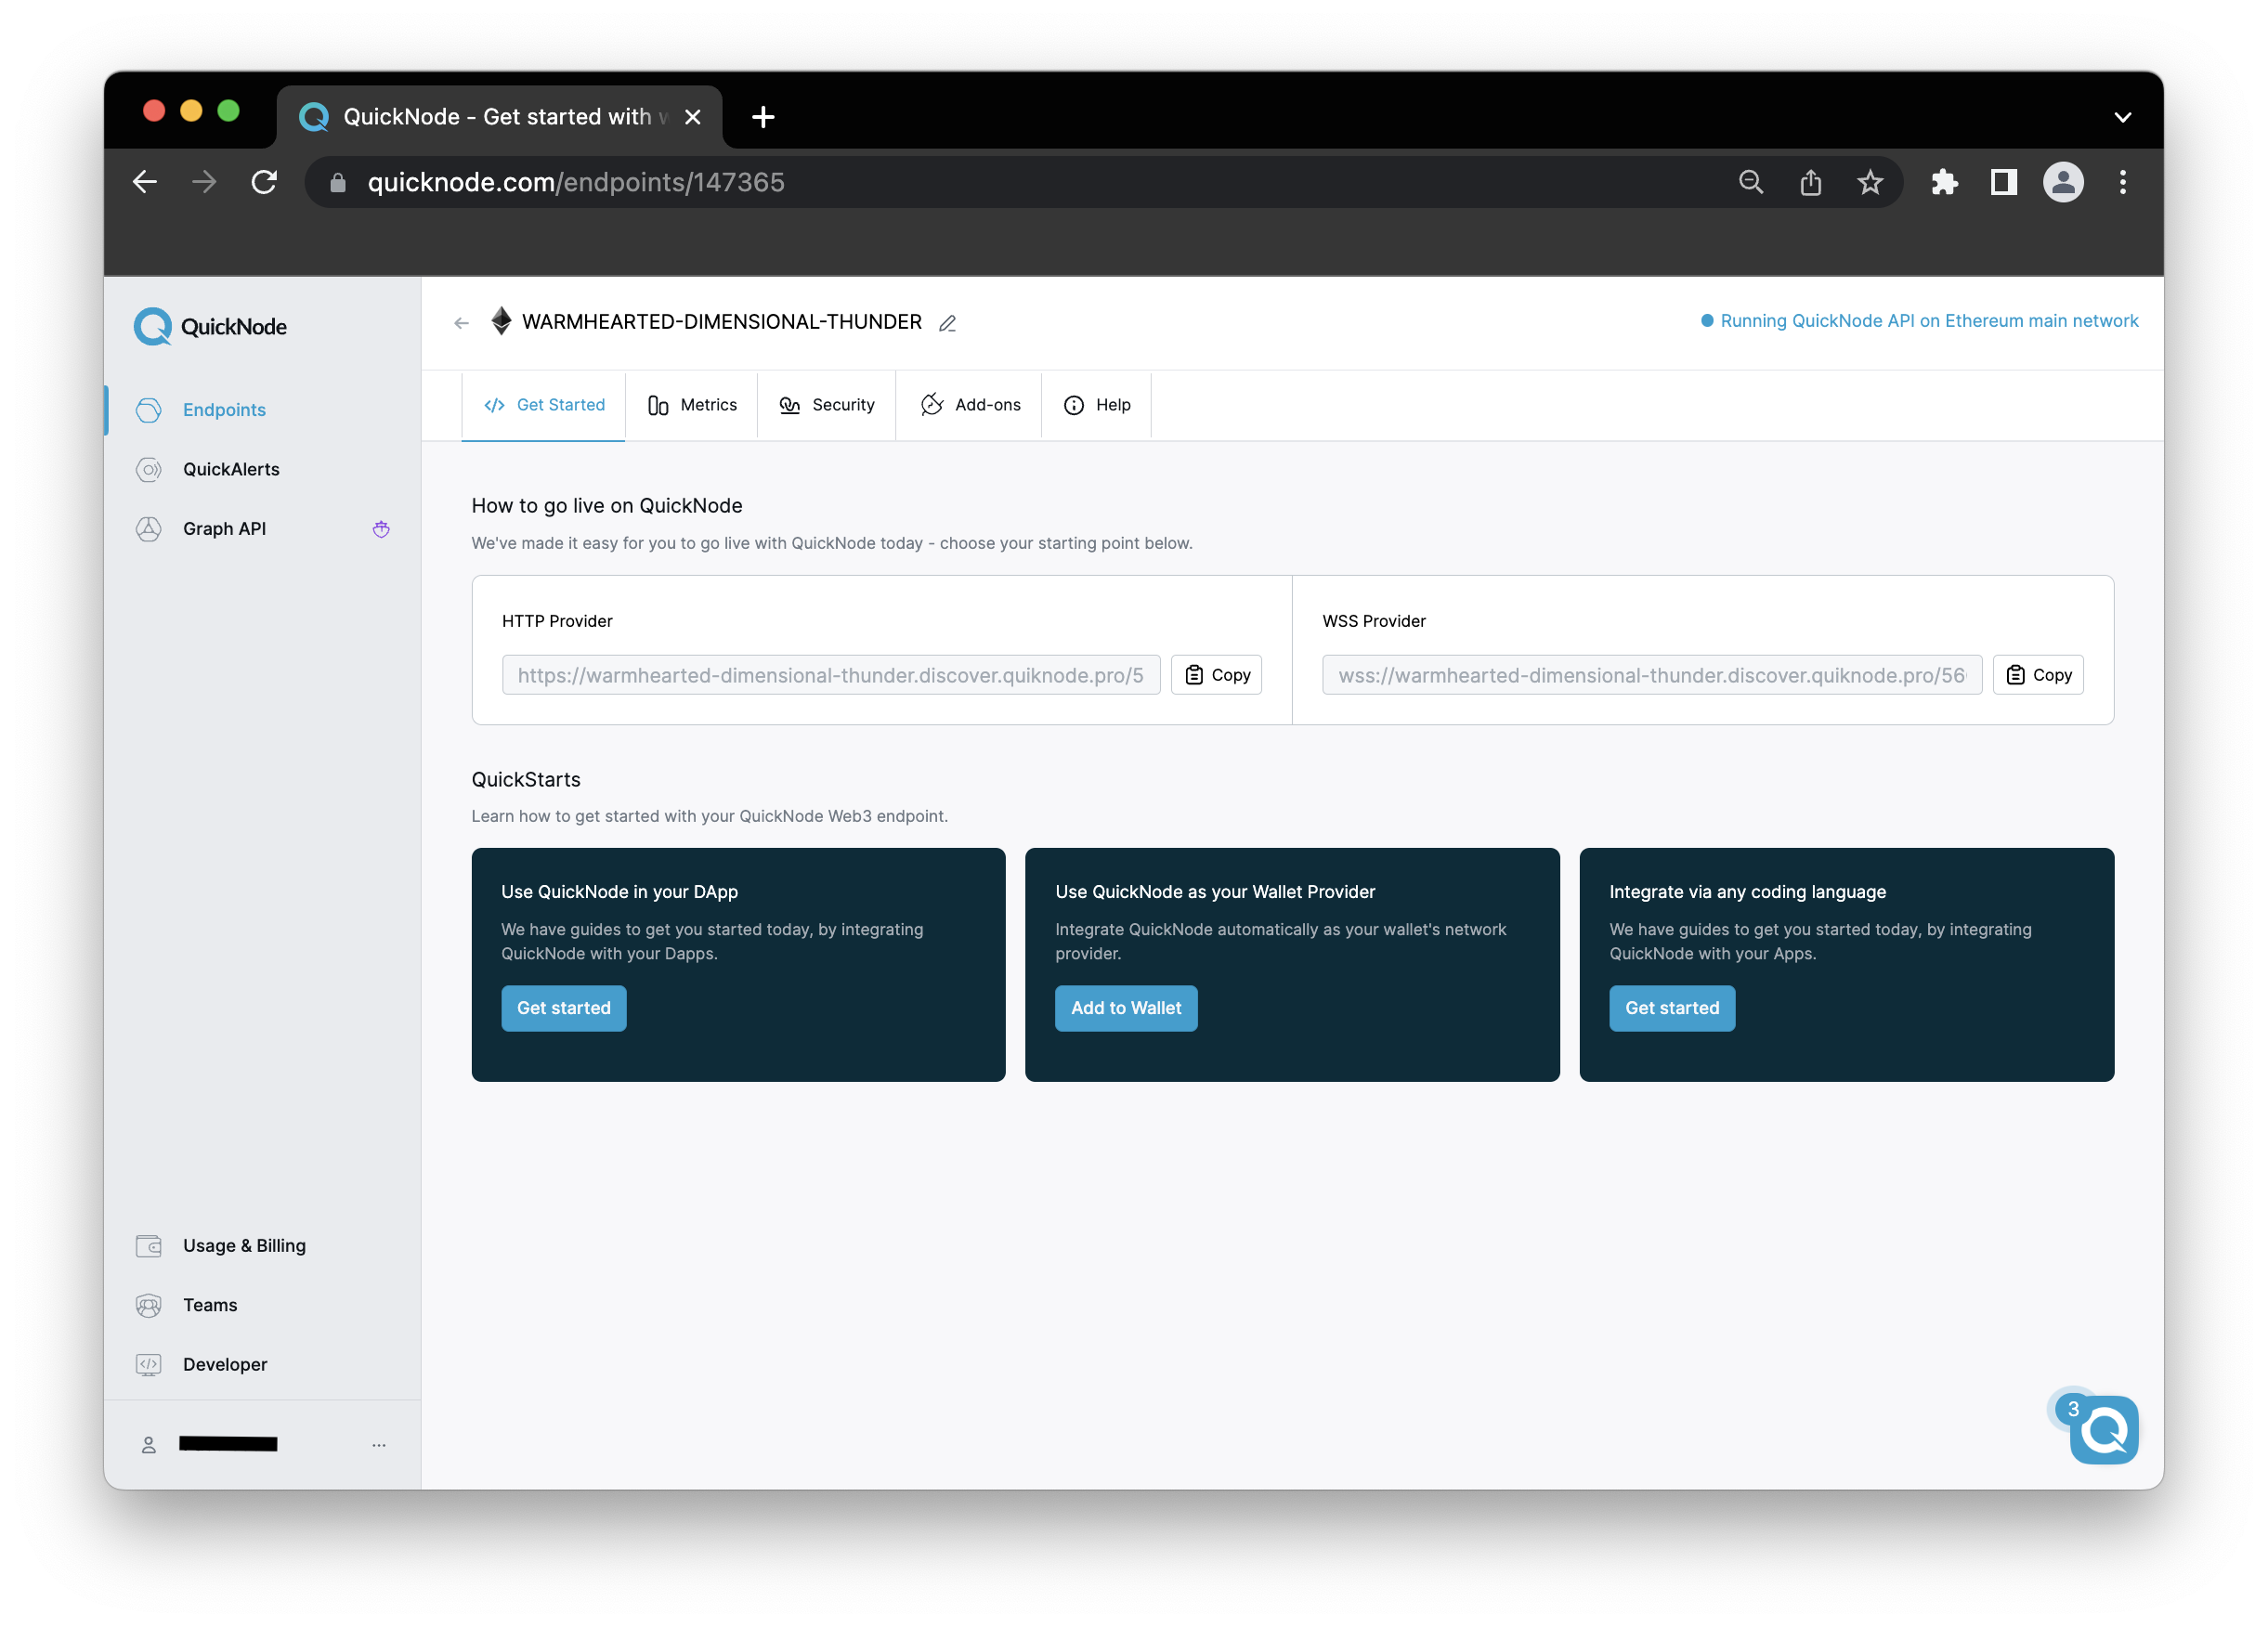
Once you've created an endpoint, copy your HTTP Provider URL and keep it handy, as you'll need it in the next section.
Connecting via Java / Web3j
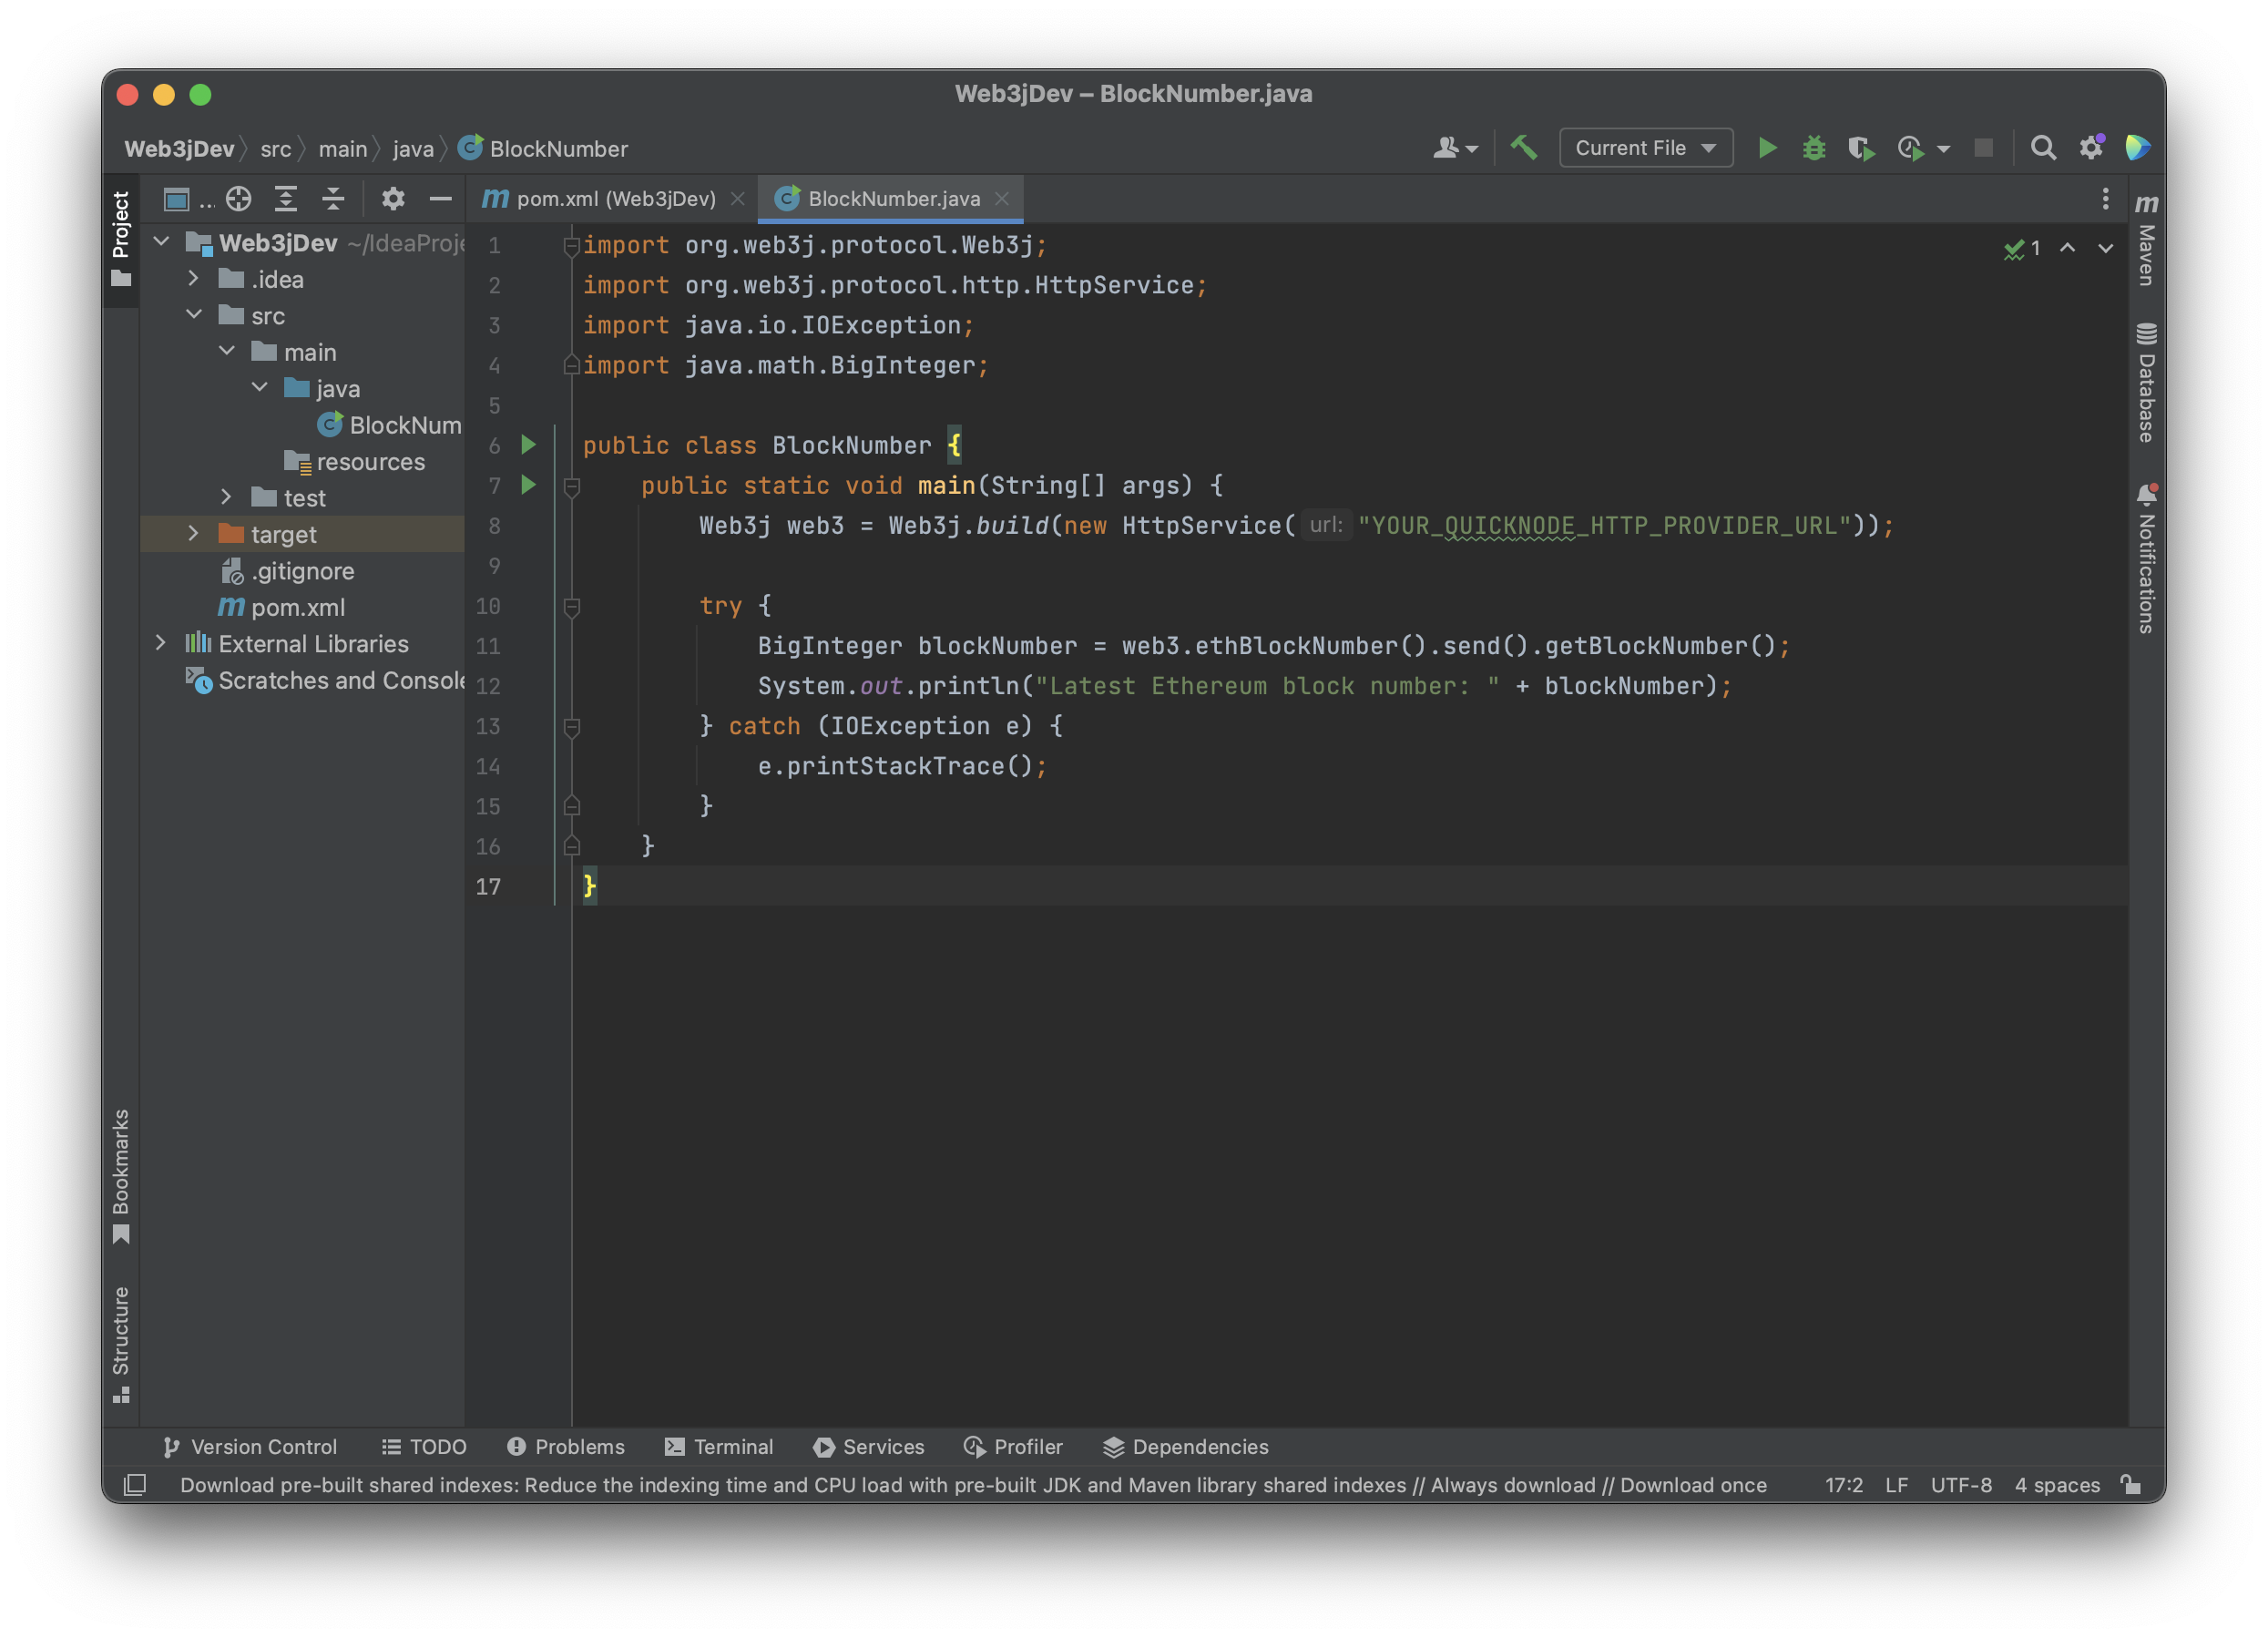
Now let's write a small piece of Java code to fetch the latest Block number from the Ethereum Blockchain. To accomplish this, expand your project from the left panel, then click on src, then main, and then right-click on Java, select New, and select a Java class; you can name your Java class anything (ref image below). Then, copy/paste this into your newly created Java class file (BlockNumber.java in the following example):
import org.web3j.protocol.Web3j;
import org.web3j.protocol.http.HttpService;
import java.io.IOException;
import java.math.BigInteger;

public class BlockNumber {
    public static void main(String[] args) {
        Web3j web3 = Web3j.build(new HttpService("YOUR_QUICKNODE_HTTP_PROVIDER_URL"));

        try {
            BigInteger blockNumber = web3.ethBlockNumber().send().getBlockNumber();
            System.out.println("Latest Ethereum block number: " + blockNumber);
        } catch (IOException e) {
            e.printStackTrace();
        }
    }
}
Make sure to replace the YOUR_QUICKNODE_HTTP_PROVIDER_URL placeholder in the code above with your own QuickNode HTTP Provider URL.
Here is a quick explanation of the code above:
Line 1-4: Import the required libraries such as web3j and native Java libraries such as IOException and BigInteger.
Line 6-17: Create a class called BlockNumber and declare a main method which will be our entry point for executing the Java program. We then declare a Web3j variable that holds our QuickNode HTTP URL and create a connection to the Ethereum blockchain. A try-catch statement is then declared; the try section contains a call to web3.ethBlockNumber().send().getBlockNumber(), which stores the result in the variable blockNumber. Next, the block number is logged with System.out.println. If the request is unsuccessful, the catch statement will print the error using the IOException library.
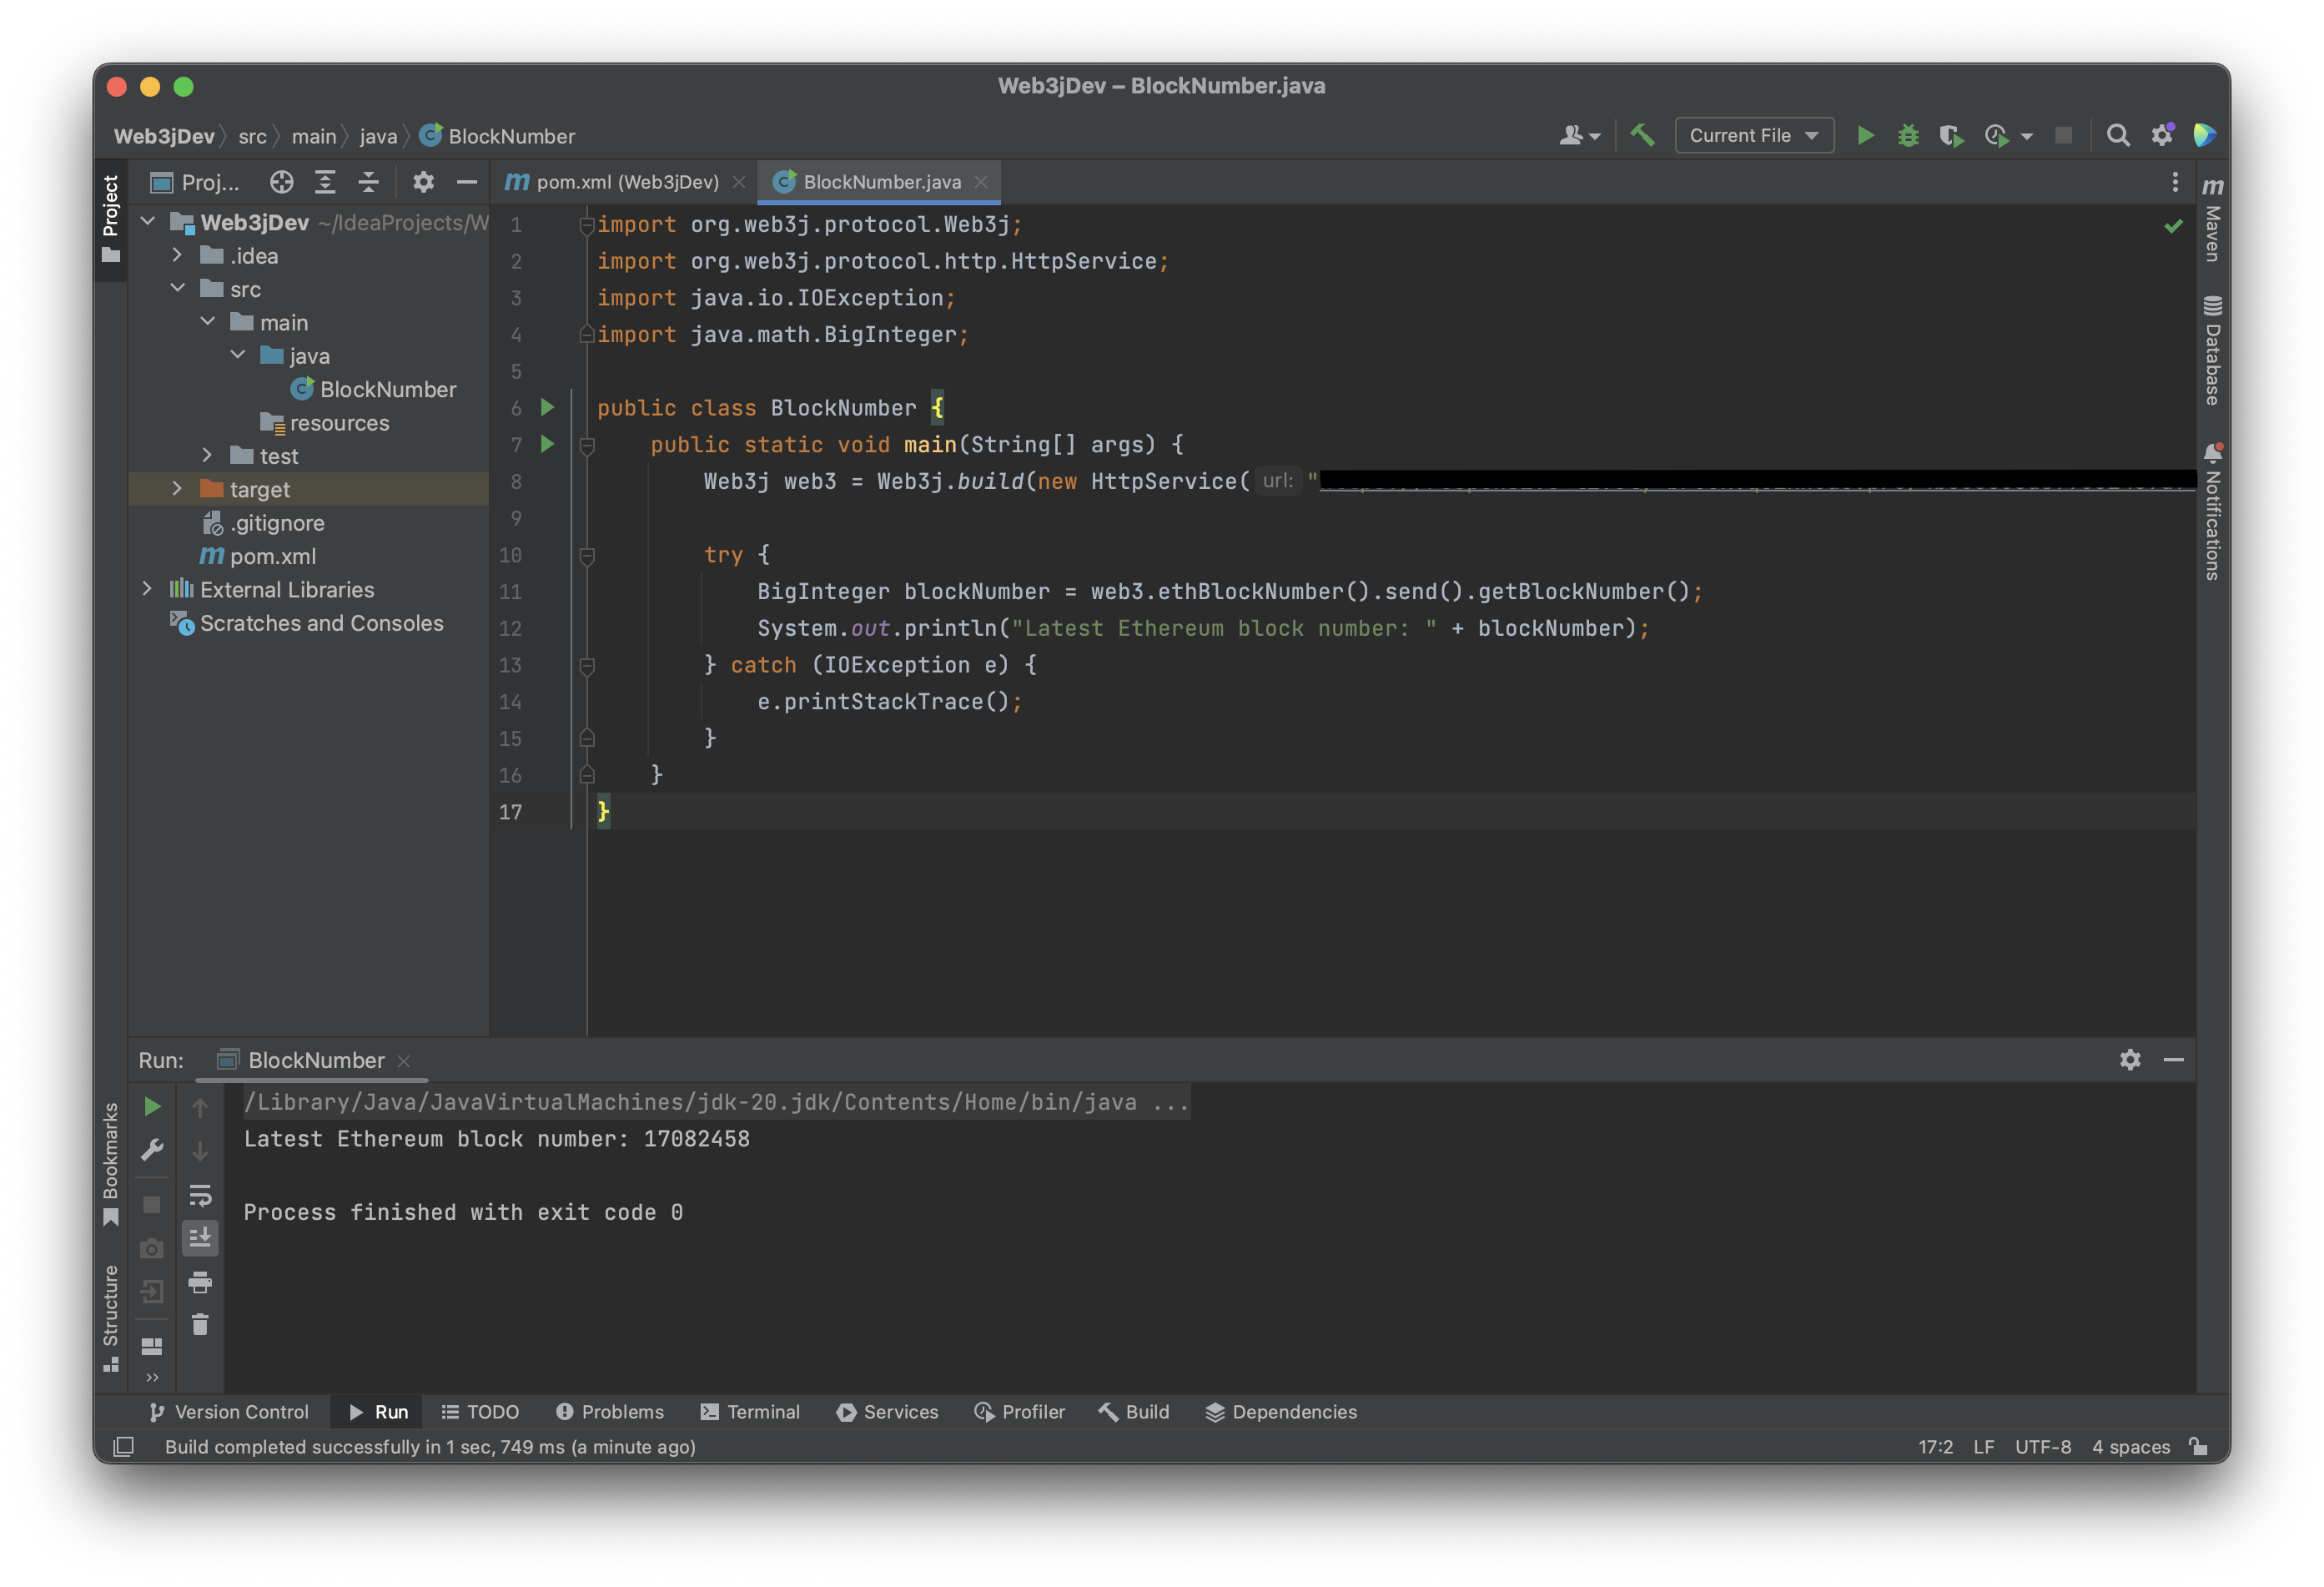
NOTE: Before we can execute the code, we'll need to close the IntelliJ IDE and reopen the project so that the dependencies we installed are recognized.
Once we've reopened the IntelliJ IDE, execute the BlockNumber.java file by right-clicking the file name in the IntelliJ file explorer and clicking 'Run BlockNumber.java'. A successful output should look like this:
Conclusion
Congratulations! You have connected to the Ethereum network using Java and Web3j! Check out Web3j GitHub repository for more information and to examine the code that utilizes web3j. Also, study their documentation to learn more.
If you're having trouble, have questions, or just want to talk about what you're building, drop us a line on Discord or Twitter!
We ❤️ Feedback!
If you have any feedback on this guide, let us know. We'd love to hear from you!