9 min read
Overview
This guide introduces how to send a transaction on Ethereum or other EVM-compatible blockchains using Viem, a modern Ethereum library. Viem, developed by the creators of wagmi, aims to address the shortcomings of existing Ethereum libraries by providing a more intuitive and efficient developer experience with faster execution, modular APIs, and robust typing. Check out their comprehensive documentation for a complete feature set.
We'll walk through various methods of sending transactions with Viem, such as ETH transfers to an ENS domain like vitalik.eth, sending a signed transaction, and interacting directly with smart contracts.
If you're interested in exploring further about transactions, check out our other comprehensive guides.
What You Will Do
- Set up a project to interact with the Ethereum Sepolia blockchain using Viem
- Execute a transaction to transfer ETH, specifically focusing on sending ETH to an ENS domain on the Ethereum Sepolia blockchain
- Send a signed transaction to the blockchain
- Interact with smart contracts
What You Will Need
- Basic understanding of Ethereum and Transactions
- Node.js installed (v16 or higher)
- A code editor (such as VS Code)
- An EVM-compatible wallet with some ETH for gas fees (feel free to use QuickNode Multi-Chain Faucet for test tokens)
- TypeScript and ts-node installed
- A free QuickNode account
Project Prerequisites
QuickNode Ethereum Endpoint
Ensure you have a QuickNode account and set up an Ethereum node endpoint to communicate with the Ethereum Sepolia blockchain. This endpoint will be your gateway to the blockchain. Sign up here for free and create an endpoint for the Ethereum Sepolia Testnet.
We will use Ethereum Sepolia Testnet within the scope of this guide. However, feel free to use Ethereum Mainnet or any EVM-compatible blockchain if you wish.
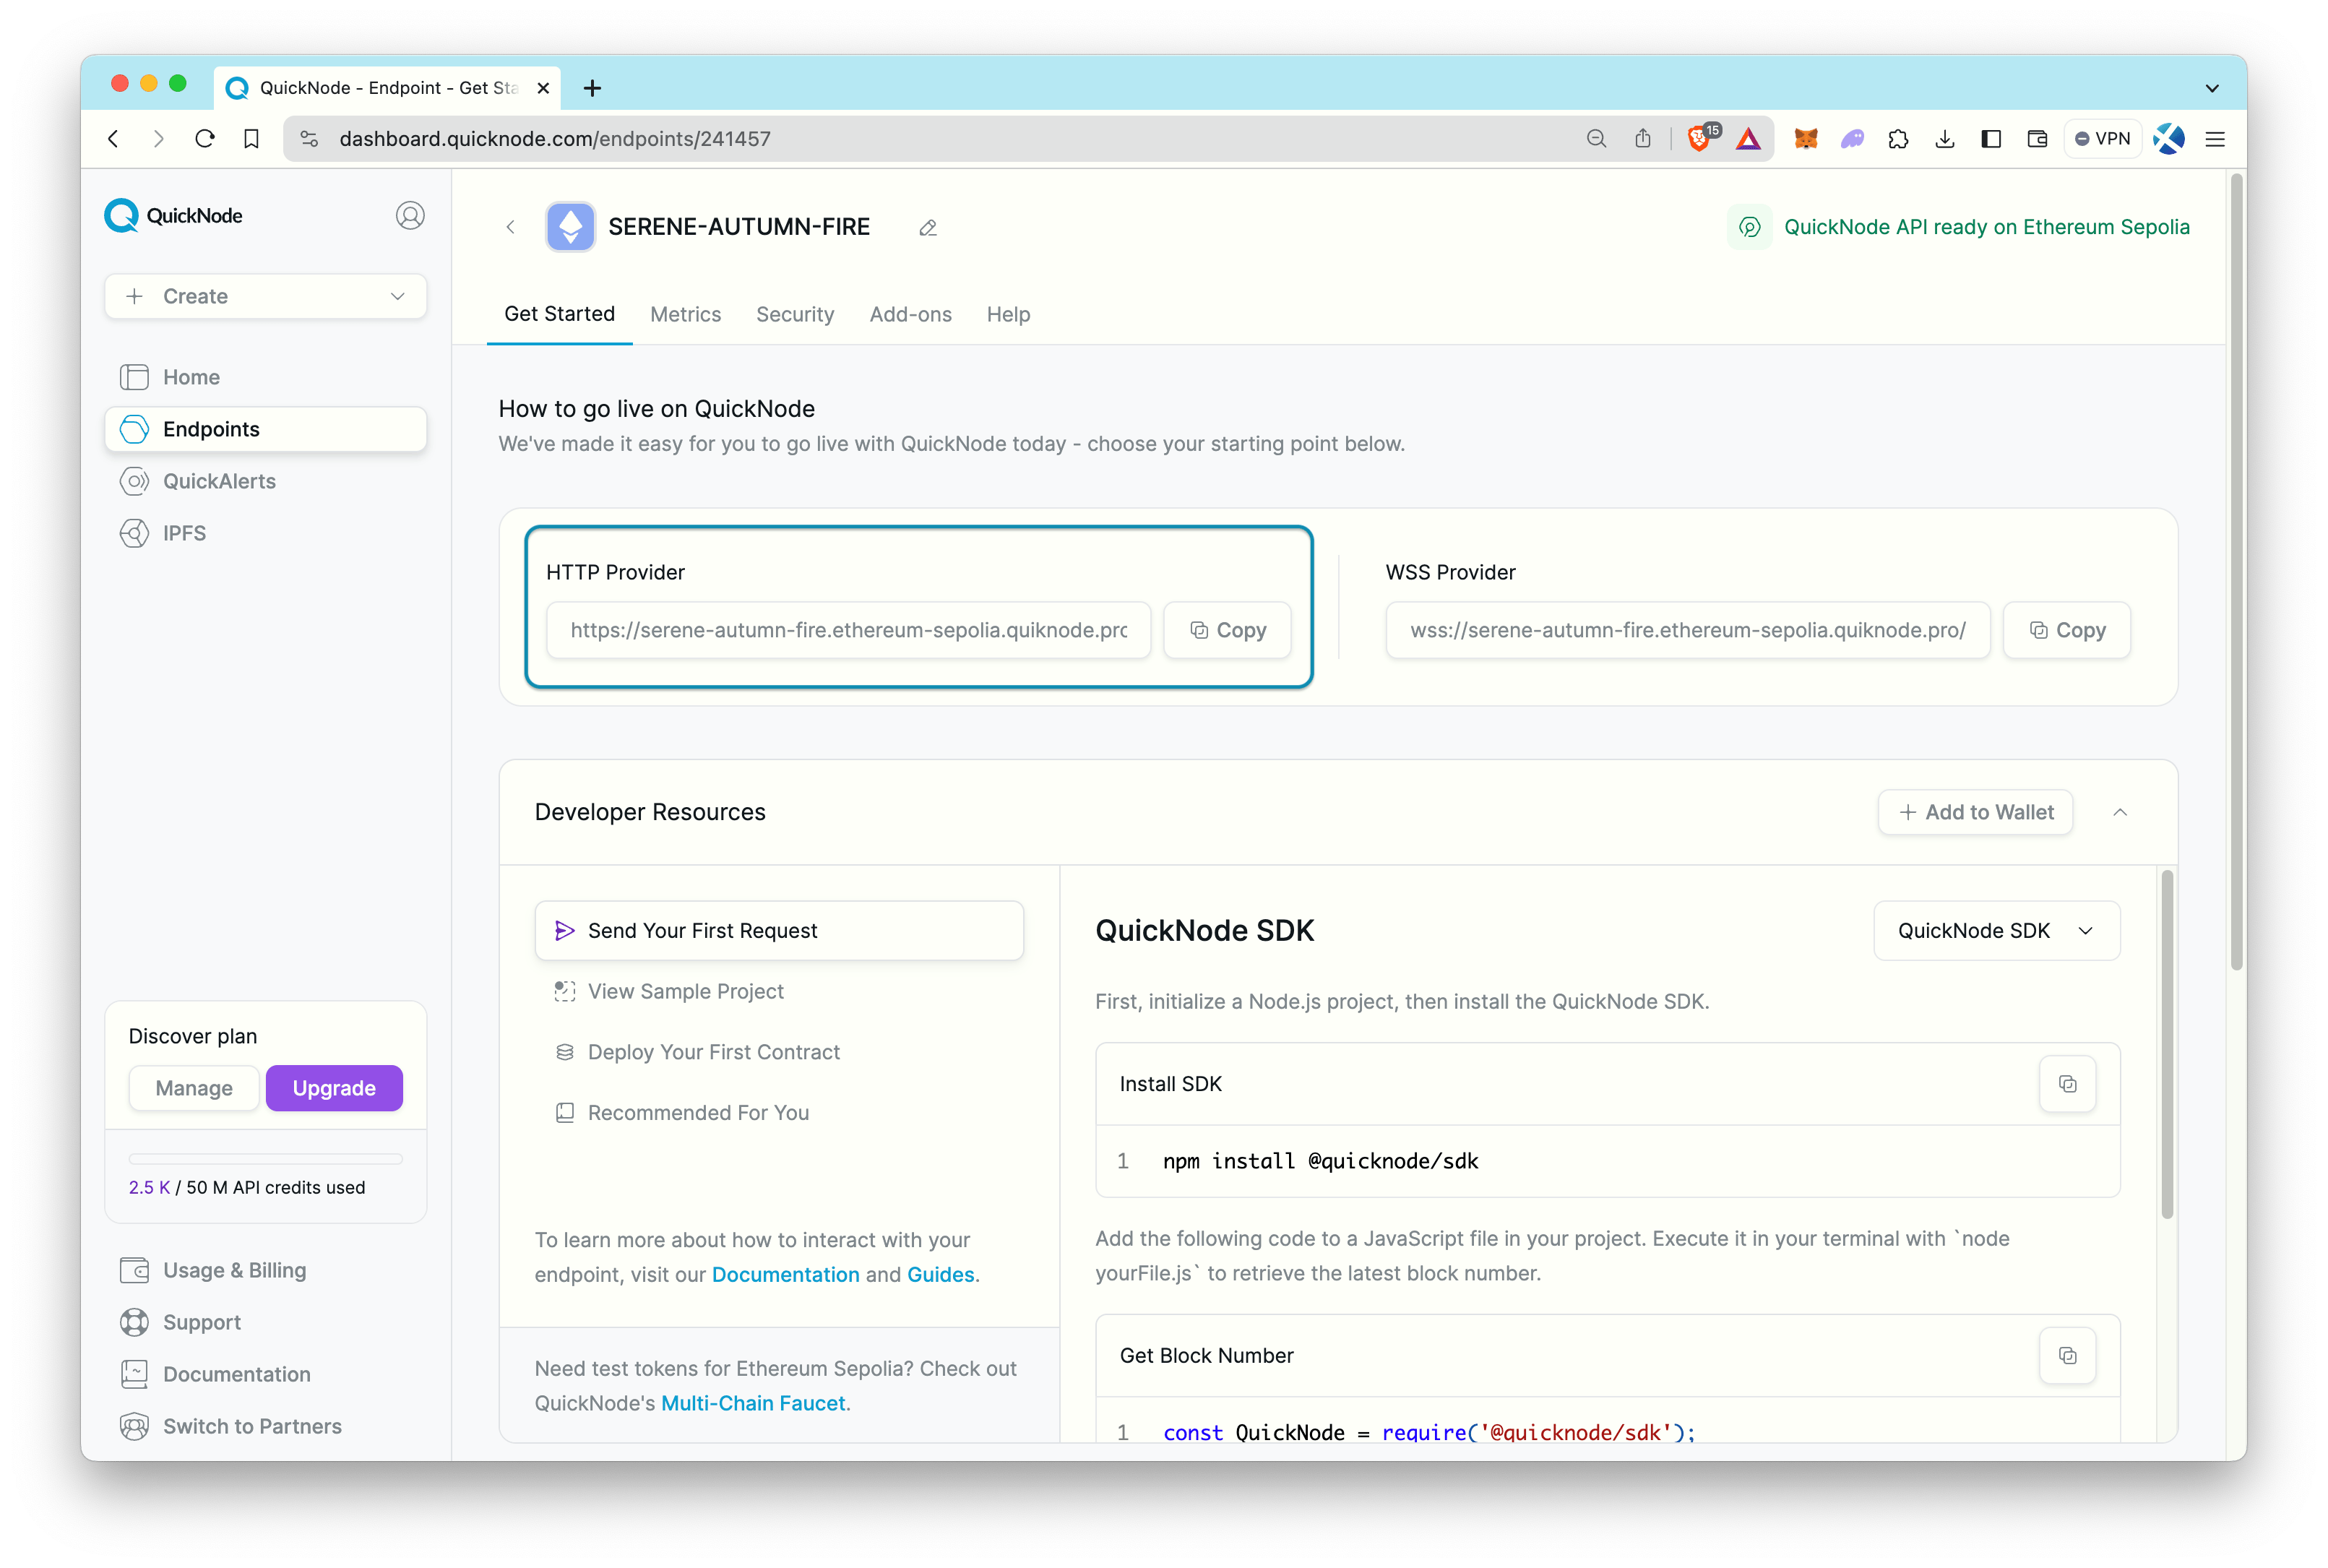
Keep the HTTP Provider URL for later use.
QuickNode Multi-Chain Faucet
You will need some ETH to cover gas fees on transactions.
Navigate to the QuickNode Multi-Chain Faucet and connect your wallet or paste in your wallet address. You'll need to select the Ethereum chain and Sepolia network and then request funds. Note that there is a mainnet balance requirement of 0.001 ETH on Ethereum Mainnet to use the EVM faucets. You can also tweet or log in with your QuickNode account to get a bonus!
Private Key
Private keys are crucial for signing transactions prior to sending them to the blockchain. So, get your private key from your wallet (i.e., MetaMask, Rabby, etc.) since it is needed in the project, and never share it publicly.
If you do not know how to get your private key, click here.
This instruction is prepared for MetaMask.
To get your private key;
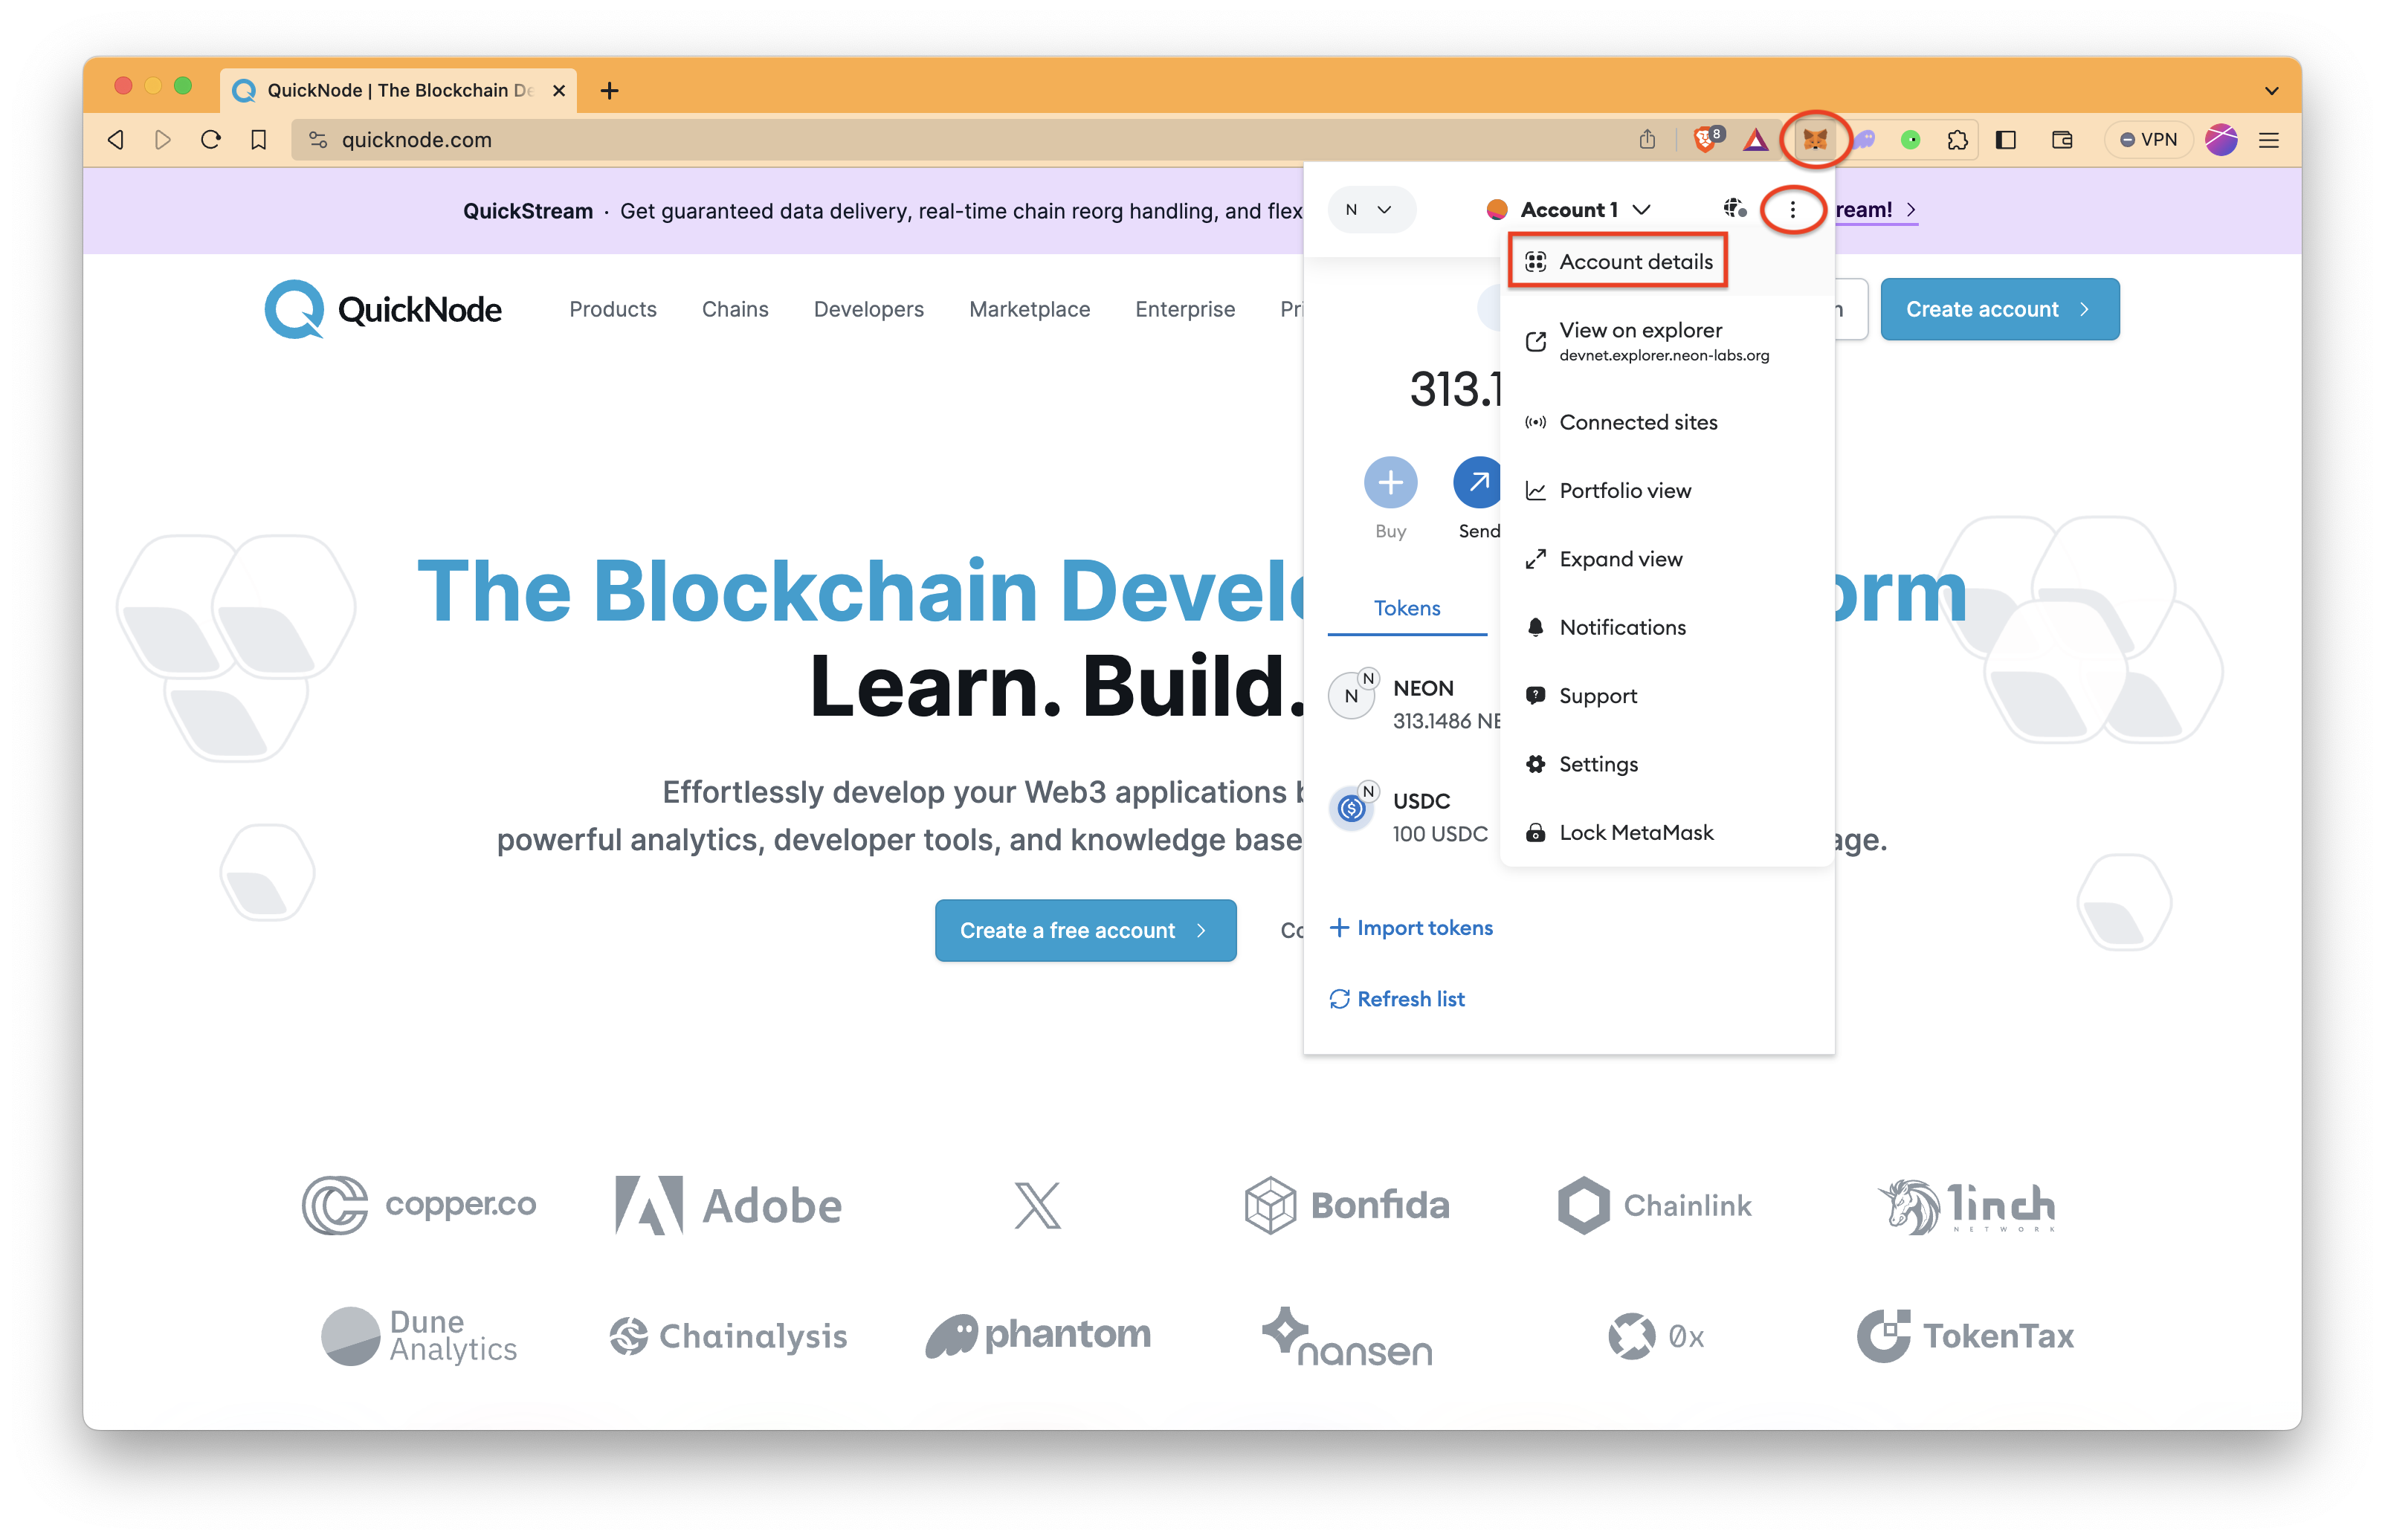
- Click MetaMask icon, a stylized fox head, on your browser. If it is not seen, check the Extensions page of your browser.
- Click ⋮ symbol and then Account details.
- Then, click Show private key and follow instructions.
Development Set Up
If you don't have it yet, you can run the commands below to install TypeScript and ts-node globally to have TypeScript available across all projects.
npm install -g typescript
npm install -g ts-node
Step 1: Create a Project Directory
mkdir viem-transaction
cd viem-transaction
Step 2: Initialize Your Project
npm init -y
tsc -init --resolveJsonModule true
Step 3: Install Dependencies
To ensure your project has everything it needs, run the following commands. This will add viem for interacting with Ethereum and dotenv for managing environment variables. Additionally, we include @types/node to support TypeScript typings in your Node.js project, enhancing development experience and type checking.
npm install viem
npm install --save-dev dotenv @types/node
Step 4: Environment Setup
Create a .env file to store sensitive information like your wallet's private key and the QuickNode endpoint.
echo > .env
Then, modify it as below with your code editor. Replace YOUR_QUICKNODE_ENDPOINT_URL and YOUR_WALLET_PRIVATE_KEY placeholders with your QuickNode endpoint URL and your private key, respectively.
In hexadecimal notation, the 0x prefix is used to indicate that the characters following it represent a hexadecimal value. While not all hex strings are required to start with 0x, in the context of Ethereum and many wallets, private keys and other hexadecimal values are often displayed with this prefix for clarity.
If your private key doesn't start with 0x prefix, you should add it. Otherwise the code will give an error.
QUICKNODE_ENDPOINT = "YOUR_QUICKNODE_ENDPOINT_URL"
PRIVATE_KEY = "YOUR_WALLET_PRIVATE_KEY"
Step 5: Create an index.ts file
echo > index.ts
Sending a Transaction
We will now add a script to our newly created index.ts file that will accomplish sending a transaction through the following steps:
- Set up a connection to a QuickNode Ethereum endpoint and initialize the wallet client with a private key.
- Check the sender's balance to ensure it's sufficient for the transaction.
- Set up logic to check that if the balance is adequate, the script resolves an ENS name (vitalik.eth) to its corresponding Ethereum address and sends a specified amount of ETH (0.001 ETH) to that address.
- Log the transaction's hash upon success, providing a reference to the completed transaction on the blockchain.
Step 6: Modify the index.ts file
Open the index.ts file and add this code:
// Import necessary Viem modules and functions
import {
  Address,
  createWalletClient,
  http,
  formatEther,
  parseEther,
  publicActions,
} from "viem";
import { normalize } from "viem/ens"; // For ENS name normalization
import { privateKeyToAccount } from "viem/accounts"; // Convert private key to account
import { sepolia } from "viem/chains"; // Reference to the Sepolia test network
import dotenv from "dotenv"; // For loading environment variables
dotenv.config();

// Retrieve QuickNode endpoint and private key from environment variables
const QUICKNODE_ENDPOINT = process.env.QUICKNODE_ENDPOINT as string;
const PRIVATE_KEY = process.env.PRIVATE_KEY as Address;

// Convert the private key to an account object
const account = privateKeyToAccount(PRIVATE_KEY);

// Create a wallet client with the specified account, chain, and HTTP transport
const walletClient = createWalletClient({
  account,
  chain: sepolia,
  transport: http(QUICKNODE_ENDPOINT),
}).extend(publicActions);

// Define the amount of ETH to send
const ethAmount = parseEther("0.001");

// Function to check the sender's balance and ensure it's sufficient
async function checkBalance() {
  const balanceFrom = await walletClient.getBalance({
    address: account.address,
  });

  if (balanceFrom < ethAmount) {
    throw new Error("Insufficient ETH balance.");
  }

  console.log(
    `The balance of the sender (${account.address}) is: ${formatEther(balanceFrom)} ETH`
  );
}

// Main function to execute the transaction
async function main() {
  await checkBalance(); // First, check the sender's balance

  // Resolve an ENS name to an Ethereum address
  const ensAddress = await walletClient.getEnsAddress({
    name: normalize("vitalik.eth"),
  });

  // Send the transaction to the resolved ENS address
  const hash = await walletClient.sendTransaction({
    to: ensAddress,
    value: ethAmount,
  });

  // Log the transaction details
  console.log(
    `The transaction of sending ${formatEther(
      ethAmount
    )} ETH to ${ensAddress} is sent to the blockchain`
  );
  console.log("Transaction hash:", hash);
}

// Execute the main function and handle any errors
main().catch((error) => {
  console.error(error);
  process.exitCode = 1;
});
As seen, Viem and other similar libraries, like ethers.js, simplify complex aspects in Ethereum transactions, such as automatically estimating gas fees and managing nonce values for each transaction, making developers' work easier. Additionally, with features like browser-native BigInts, comprehensive ABI utilities, and full TypeScript support, Viem enhances the developer experience for both newcomers and veterans in blockchain development.
Step 7: Run the index.ts file
After modifying the file, we can run the script file using the command below.
ts-node index.ts
The console output should be similar to the one below. So, through this script, we managed to send the amount of ETH we selected to the relevant address.
The balance of the sender (0x58D09ecd499A1d6F2a0269f361Ee6DbbaBa44eF8) is: 0.377012589826602656 ETH
The transaction of sending 0.001 ETH to 0xd8dA6BF26964aF9D7eEd9e03E53415D37aA96045 is sent to the blockchain
Transaction hash: 0x253e555ed304c8b238b68587ddf4f65d42705f0e7ee3295ed8a5c56586bc113b
You can go to the Etherscan Sepolia Block Explorer, and search the transaction hash to get transaction details.
Other Ways to Send Transactions
Besides the sending transaction method showcased earlier, Viem enables lower-level operations and smart contract interactions that modify the state of the blockchain. Here's a brief overview:
Sending a Raw Transaction with Viem
The sendRawTransaction method is a direct way to interact with the Ethereum blockchain, allowing developers to manually sign and serialize transactions before sending them. It mirrors the low-level eth_sendRawTransaction RPC call, providing a hands-on approach to blockchain interactions.
  // Sending a transaction
  // const hash = await walletClient.sendTransaction({
  //   to: ensAddress,
  //   value: ethAmount,
  // });

  // Sending a raw transaction
  const request = await walletClient.prepareTransactionRequest({
    to: ensAddress,
    value: ethAmount,
  });

  const serializedTransaction = await walletClient.signTransaction(request);
  const hash = await walletClient.sendRawTransaction({ serializedTransaction });
Interacting with Smart Contracts with Viem
For those looking to interact with smart contracts, Viem's simulateContract and writeContract methods simplify the process. These methods abstract away some of the complexities involved in crafting transaction calls to smart contract functions. Interally, writeContract method call the sendTransaction action with ABI-encoded data.
It's a good practice to simulate contract interactions before executing them. Viem offers a simulateContract function for this purpose. Since writeContract doesn't simulate transactions by default, using simulateContract first can help identify potential errors.
  // Contract details: WETH contract on the Sepolia test network
  const contractAddress = "0xfFf9976782d46CC05630D1f6eBAb18b2324d6B14";
  const contractABI = [
    {
      constant: false,
      inputs: [],
      name: "deposit",
      outputs: [],
      payable: true,
      stateMutability: "payable",
      type: "function",
    },
  ];

  const { request } = await walletClient.simulateContract({
    account,
    address: contractAddress,
    abi: contractABI,
    functionName: "deposit",
    value: parseEther("0.001"),
    // args: [arg1, arg2, ...]
  });
  await walletClient.writeContract(request);
Additional Parameters
While this guide explains various methods of sending transactions, Viem allows for specifying additional parameters like data, gasPrice, and nonce to fine-tune your transactions for specific needs or network conditions.
data: A parameter that contains bytecode (e.g., smart contract calls) or a message to the recipient.gasPrice: The price per unit of gas (in gwei), only for legacy transactions.maxFeePerGas: Total fee per gas (in wei), includingmaxPriorityFeePerGas, only for EIP-1559 (Type2) transactions.maxPriorityFeePerGas: Max priority fee per gas (in wei), only for EIP-1559 (Type2) transactions.nonce: A unique number representing the sequence of transactions from a wallet.
For a deeper dive into these transaction parameters, check out our What are Ethereum Transactions? guide. Additionally, check out the sendTransaction documentation for an exhaustive list of method arguments.
Conclusion
By following this guide, you've learned the fundamentals of sending transactions on the Ethereum blockchain using the Viem library. Viem's design philosophy emphasizes ease of use without sacrificing power or flexibility, making it an excellent choice for Ethereum developers looking to streamline their workflow.
Subscribe to our newsletter for more articles and guides on Web3 and blockchain. If you have any questions, check out the QuickNode Forum for help. Stay up to date with the latest by following us on Twitter (@QuickNode) or Discord.
Additional Resources
- What are Ethereum Transactions?
- Pending and Queued Transactions Explained
- How to Send an EIP-1559 Transaction
- How to re-send a transaction with higher gas price using Ethers.js
- How to Send a Transaction Using Ethers.js
- Viem Docs
We ❤️ Feedback!
Let us know if you have any feedback or requests for new topics. We'd love to hear from you.