8 min read
Overview
In this guide, we delve into the practical aspects of interacting with the Ethereum blockchain, specifically focusing on the transfer of ERC-20 tokens. ERC-20 tokens are a standard type of Ethereum token, widely used in various applications. We'll explore how to accomplish this using the QuickNode SDK supported in JavaScript.
What You Will Do
- Understand the basics of ERC-20 tokens and their transfer methods
- Set up your development environment with the necessary libraries
- Implement an ERC-20 token transfer to an Ethereum address
- Implement an ERC-20 token approval and transfer on behalf of a smart contract
What You Will Need
- Basic understanding of Ethereum and smart contracts.
- Familiarity with JavaScript
- A text editor or an IDE (e.g., VS Code)
- Access to an Ethereum node or a service like QuickNode for connecting to the Ethereum network (or 24 other blockchains and counting! Sign up for free here
- An EVM wallet (with access to your private key, like MetaMask or a burner wallet)
| Dependency | Version |
|---|---|
| node.js | 18.13.0 |
| @quicknode/sdk | ^1.1.4 |
ERC-20 Tokens
ERC-20 tokens are digital assets built on the Ethereum blockchain, following a specific set of standards that allow them to be shared, exchanged, or transferred to any Ethereum address. These tokens represent a wide range of assets, like voting rights, financial shares, rights to a resource, or simply a store of value.
Approval
Understanding the approve function is crucial when dealing with ERC-20 token transfers. This function grants permission to a smart contract to transfer a specific amount of tokens on your behalf. It's a security measure ensuring that tokens can only be moved with your explicit consent.
When to Use Approval
- Interacting with Decentralized Exchanges (DEXs): For instance, before swapping tokens on platforms like Uniswap, you need to approve the DEX to access the amount of tokens you wish to trade.
- Participating in DeFi Platforms: When depositing tokens into a DeFi protocol, approval is required to let the protocol's smart contract handle your tokens, whether for lending, staking, or yield farming.
When Approval is Not Necessary
- Direct Transfers: If you're simply transferring tokens directly to another address, the
approvefunction is not needed. This is akin to sending tokens from your wallet to another individual's wallet or a smart contract. - Previously Approved Contracts: If you have already approved a contract to use your tokens and the allowance covers your current transaction, no additional approval is required.
The approve function is a fundamental aspect of ERC-20 token interactions in the Ethereum ecosystem, providing control and security over how your tokens are utilized by smart contracts.
Now, before we delve into the technicalities of sending ERC-20 tokens, let's first set up a free QuickNode endpoint and fund our wallet.
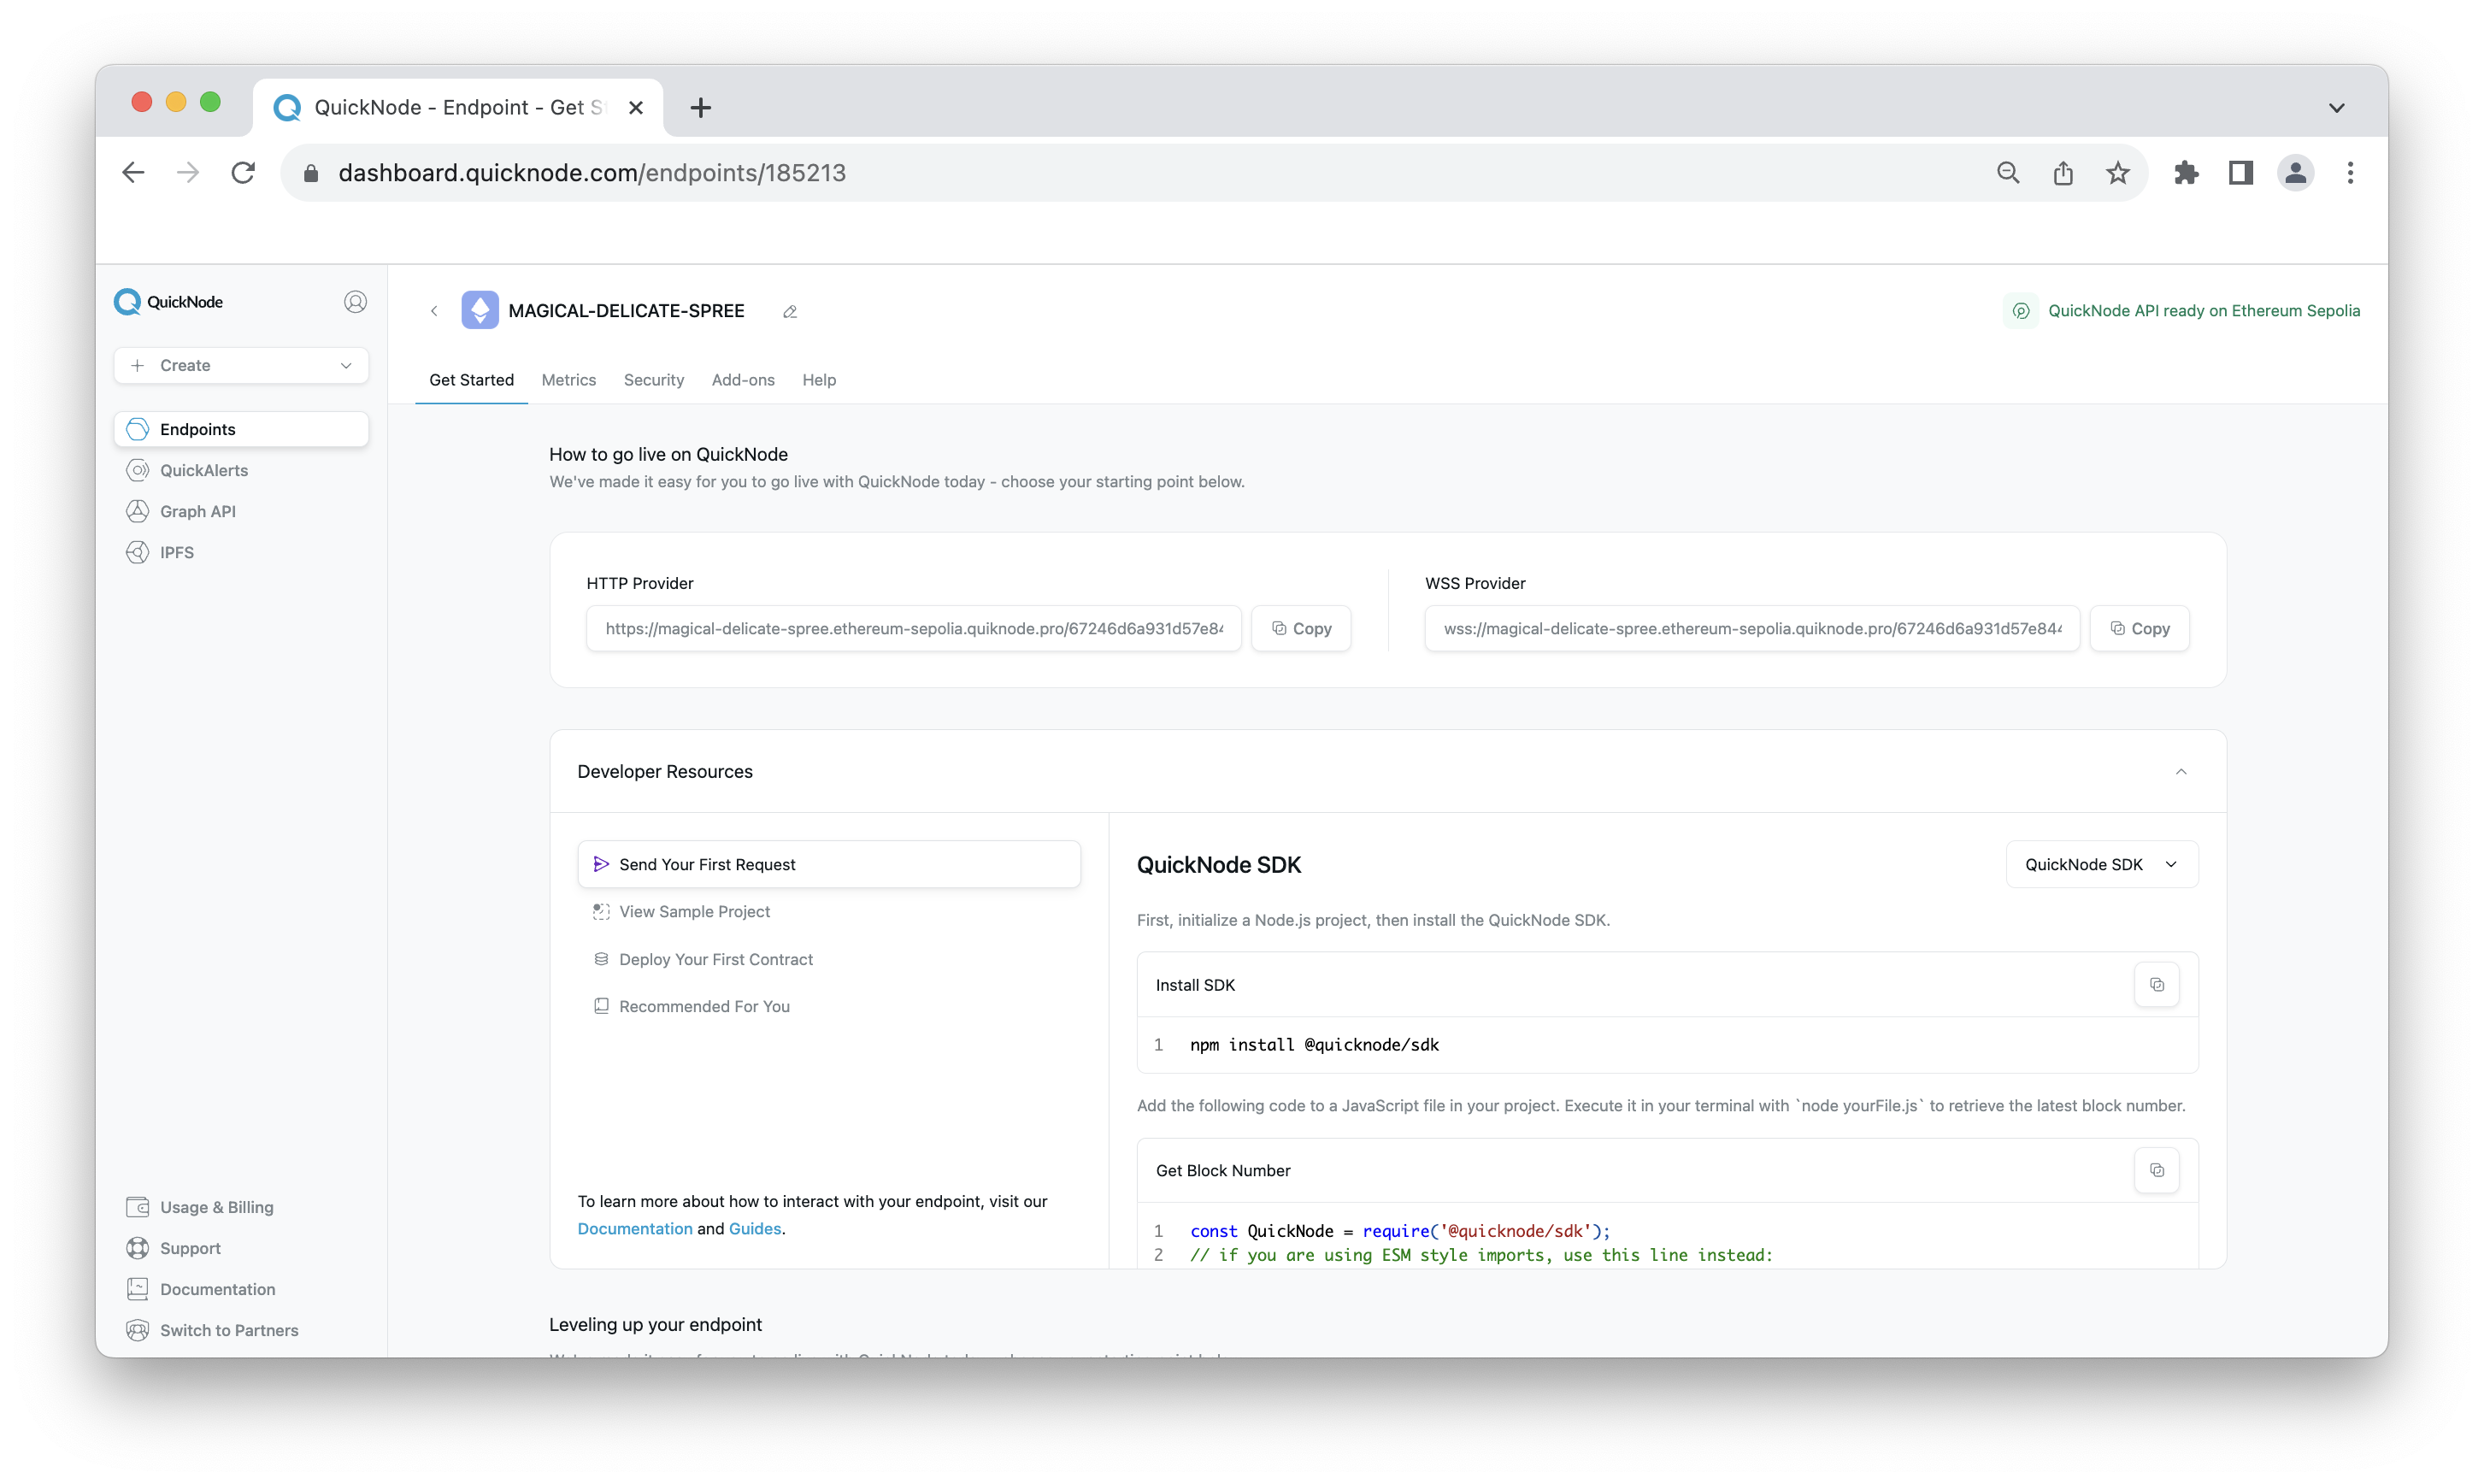
Project Prerequisite: Create a QuickNode Endpoint
You're welcome to use public nodes or deploy and manage your own infrastructure; however, if you'd like 8x faster response times, you can leave the heavy lifting to us. Sign up for a free account here.
Once logged in, click the Create an endpoint button, then select the blockchain and network you want to deploy on. For the purpose of this guide, we'll choose the Ethereum Sepolia chain.
After creating your endpoint, keep the page handy, as we'll need it in the technical coding portion of this guide.
Note that although we are using Ethereum Sepolia for the demonstration of this guide, you can also use other EVM-compatible chains like Base, Polygon, Arbitrum, and more to interact with smart contracts and ERC-20 tokens.
With our infrastructure created, let's now move on to the technical part.
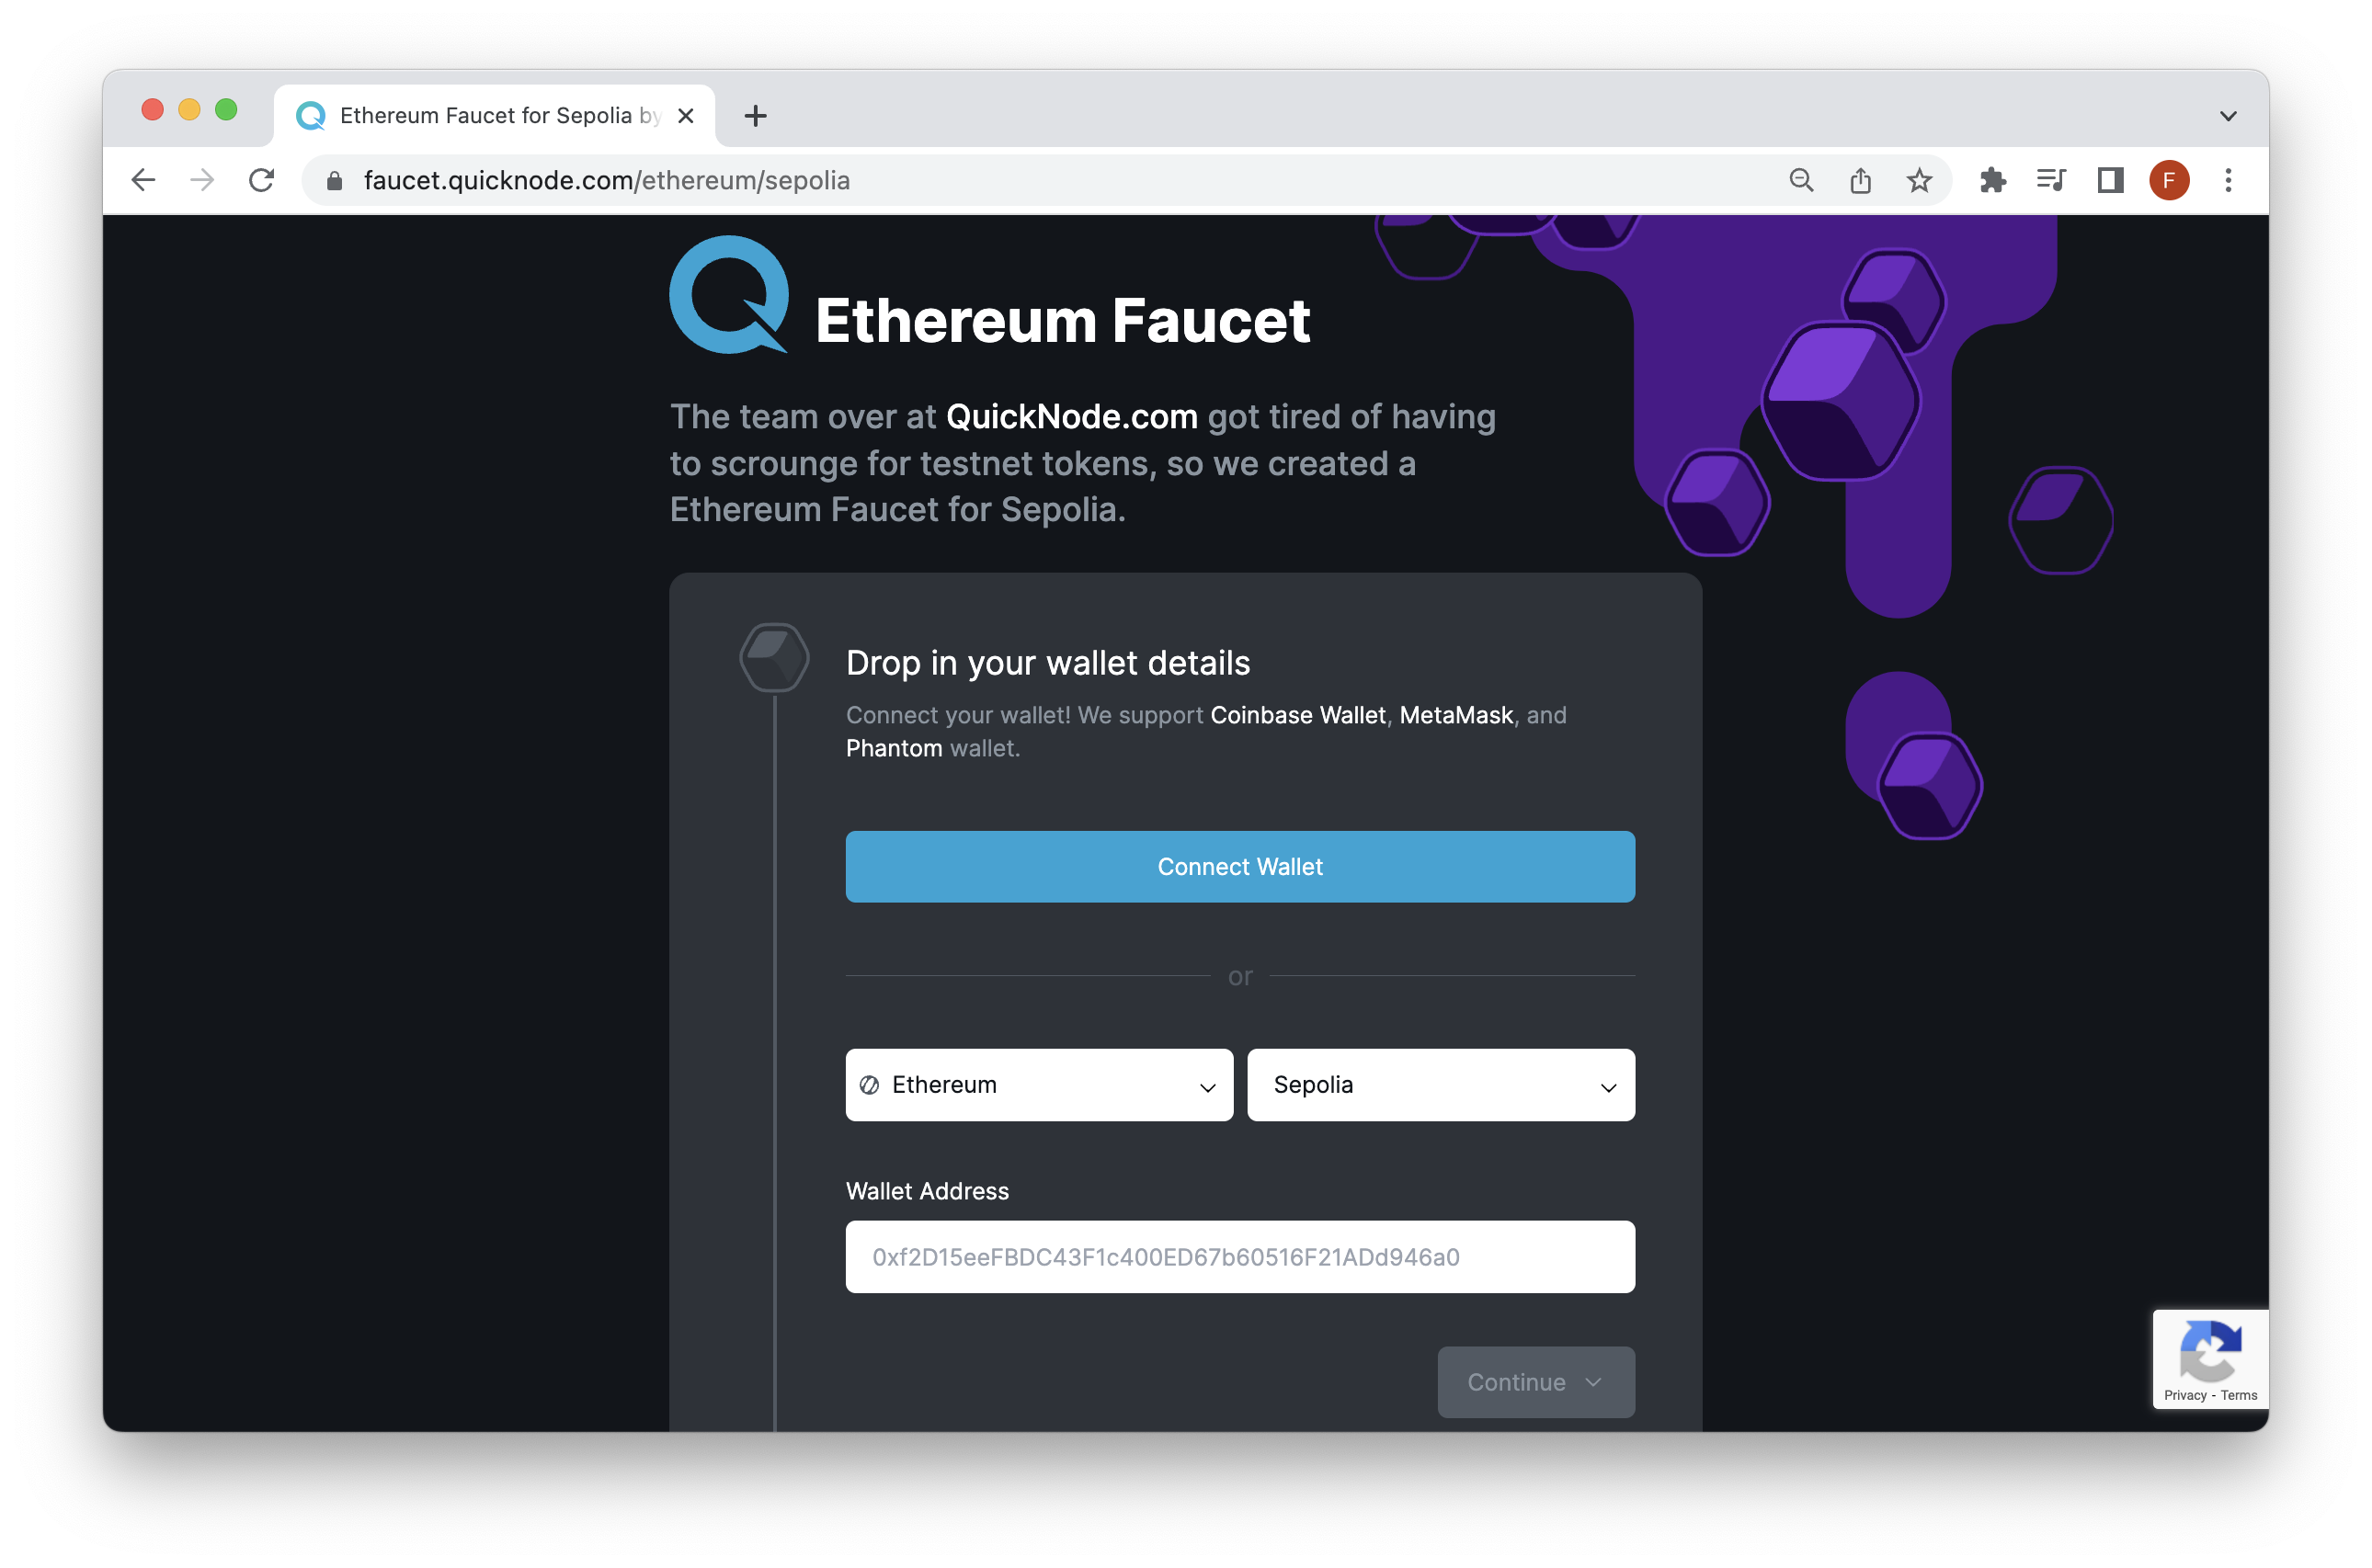
Project Prerequisite: Fund Your Wallet
If you're in need of ETH on Sepolia testnet, the Multi-Chain QuickNode Faucet makes it easy to obtain test ETH!
Navigate to the Multi-Chain QuickNode Faucet and connect your wallet (e.g., MetaMask, Coinbase Wallet) or paste in your wallet address to retrieve test ETH. Note that there is a mainnet balance requirement of 0.001 ETH on Ethereum Mainnet to use the EVM faucets. You can also tweet or login with your QuickNode account to get a bonus!
For the remainder of this guide, we'll transition to the coding portion of the guide demonstrating how to send ERC-20 tokens to an Ethereum address and transfer it to a smart contract.
Send an ERC-20 Token using QuickNode SDK
The QuickNode SDK is an advanced web3 library for developers to easily connect with the QuickNode infrastructure and interact with the blockchain. It provides a versatile library compatible with both JavaScript and TypeScript, and works with any framework. The SDK supports both CommonJS and ES module formats as well as uses Viem to make RPC calls. All basic operations supported by Viem's Public Client, such as retrieving block numbers, transactions, and reading from smart contracts, are available on the client property of the Core class. Additionally, it is open-source, with its source code accessible in the qn-oss repository.
Note that if you need an ERC-20 token to finish the remainder of this guide, check out this QuickNode Guide: How to Create and Deploy an ERC20 Token
Step 1: Install the SDK and Set Up Project
To install the QuickNode SDK, we will use the npm package @quicknode/sdk. It's important to have Node.js version 16 or above for this package.
Create a project folder, navigate inside it, and within your terminal, run the following command to initialize a default npm project:
npm init --y
Then, to install the @quicknode/sdk via npm:
npm install @quicknode/sdk
OR, to initialize your project via yarn. Run the command:
yarn init --y
Then, to install via yarn:
yarn add @quicknode/sdk
NOTE: After completing either step, insert "type": "module" into the package.json file just created. This enables the use of ES Module Syntax.
Check out the QuickNode documentation for more information.
Step 2: Create and Configure the File
Next, let's create a file and input the code. In your project's directory, create a file called index.js:
echo > index.js
Then, open the file in your code editor and input the following code:
import { Core } from '@quicknode/sdk';
import { sepolia } from 'viem/chains'; // Change the network as needed
import { createWalletClient, http  } from 'viem'
import { privateKeyToAccount } from 'viem/accounts'
import abi from './abi.json' assert { type: 'json' };

// Define your private key
const privateKey = '0x' + 'YOUR_PRIVATE_KEY';

// Convert the private key to an account object
const account = privateKeyToAccount(privateKey);

// Initialize the clients
const core = new Core({
    endpointUrl: "YOUR_QUICKNODE_ENDPOINT",
});

const walletClient = createWalletClient({ account, chain: sepolia, transport: http(core.endpointUrl) });

// Contract and transaction details
const contractAddress = 'ERC20_CONTRACT_ADDRESS';
const toAddress = 'TO_ADDRESS';
const decimals = 18; // This should change based on your ERC20 decimal places
const tokenAmount = BigInt(10 ** decimals); // 1 token, adjust as needed

async function send() {
    try {
        const { request } = await core.client.simulateContract({
            address: contractAddress,
            abi: abi,
            functionName: 'transfer',
            args: [toAddress, tokenAmount],
            account
        });

        const response = await walletClient.writeContract(request);
        console.log('Transaction sent. Transaction hash:', response);

    } catch (error) {
        console.error('Error sending transaction:', error);
    }
}

send().catch(error => console.error('Error in send function:', error));
Take a few minutes to recap the code and comments. After, replace all the placeholder strings, YOUR_QUICKNODE_ENDPOINT, YOUR_PRIVATE_KEY, ERC20_CONTRACT_ADDRESS and TO_ADDRESS with their actual values.
NOTE: You'll notice that in the imports we create an abi variable that references our abi.json file. You will need to create a similar file in the same directory or place your ABI inline code (but this can take up space). For example, you can reference/copy an ABI from Etherscan by going to the Contract tab (example) and scrolling down to the Contract ABI section. However, note that this method only works for contracts verified on Etherscan.
Step 3: Execute and Send the ERC-20 Token
Execute your script by calling the command below. Remember to have updated all the placeholders in the code above with real values.
node index.js
If you're using yarn, then run:
yarn run index.js
The output will look similar to this:
Transaction sent. Transaction hash: 0x35f50018c2a83ca13685a7a0ad8e52598ef8ae48a0fa15dc537737f7fe6077a8
Confirm the transaction by looking it up on Etherscan or your preferred block explorer.
Grant ERC-20 Token Access to Smart Contracts
As mentioned in the Approve section earlier, you do not need to use the approve function to transfer ERC-20 tokens to a smart contract; however, if you would like the smart contract to access some or all of your ERC-20 tokens on your behalf, you will need to call the approve function first.
Let's demonstrate how to do this. We won't go over in-depth to set up your file (since it's the same process as above), so just follow along without coding.
QuickNode SDK
async function approve() {
    try {
        const { request } = await core.client.simulateContract({
            address: contractAddress,
            abi: abi,
            functionName: 'approve',
            args: [spender, tokenAmount],
            account
        });

        const response = await walletClient.writeContract(request);
        console.log('Transaction hash:', response);
    } catch (error) {
        console.error('Error sending transaction:', error);
    }
}
Notice the only changes were to the functionName and argument fields. We updated the function to approve since that's the function we want to call and updated the parameter value to spender, which should reference the contract address you want to approve tokens to.
Final Thoughts
Congratulations on completing this guide! You've now equipped yourself with the knowledge to send ERC-20 tokens using the QuickNode SDK confidently. This skill is a fundamental part of interacting with the Ethereum blockchain and a valuable asset in your Web3 toolbox.
If you'd like to see the Python version of this guide using Web3.py, check out this QuickNode guide: How to Send ERC-20 Tokens using Web3.py
What's Next?
- Experiment and Explore: Try sending tokens between different accounts or integrate these methods into your own projects.
- Deepen Your Knowledge: Dive deeper into smart contract development and explore other token standards like ERC-721 or ERC-1155.
- Join the Community: Engage with other developers, share your experiences, and collaborate on projects. The QuickNode community is a great place to start.
Remember, blockchain development is an ever-evolving field, and staying updated is 🔑. Subscribe to our newsletter for more articles and guides on Web3 and blockchain. If you have any questions or need further assistance, feel free to visit the QuickNode Forum. Stay informed and connected by following us on Twitter (@QuickNode) or joining our Discord community.
We ❤️ Feedback!
Let us know if you have any feedback or requests for new topics. We'd love to hear from you.